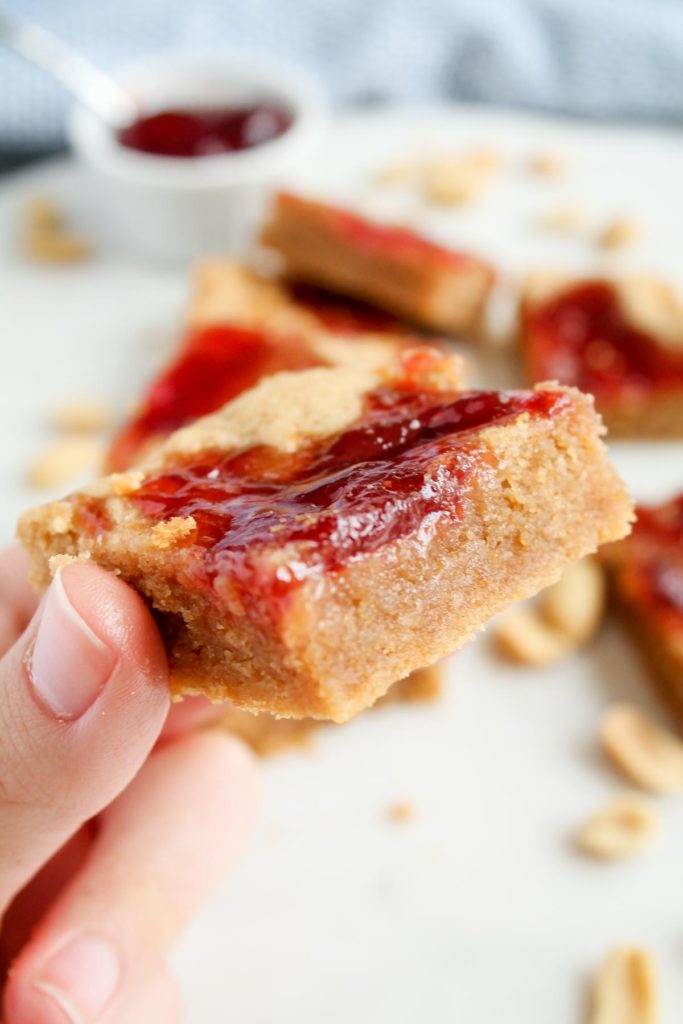
Peanut butter and jelly aka PB&J bars: a classic childhood sandwich made into soft, buttery, peanut butter cookie bars with swirls of jam over top. No mixer and only one bowl needed for this easy and delicious lunchbox snack! You can use any type of jam or jelly you like and experiment with other nut or seed butters in place of the peanut butter to make these your own.
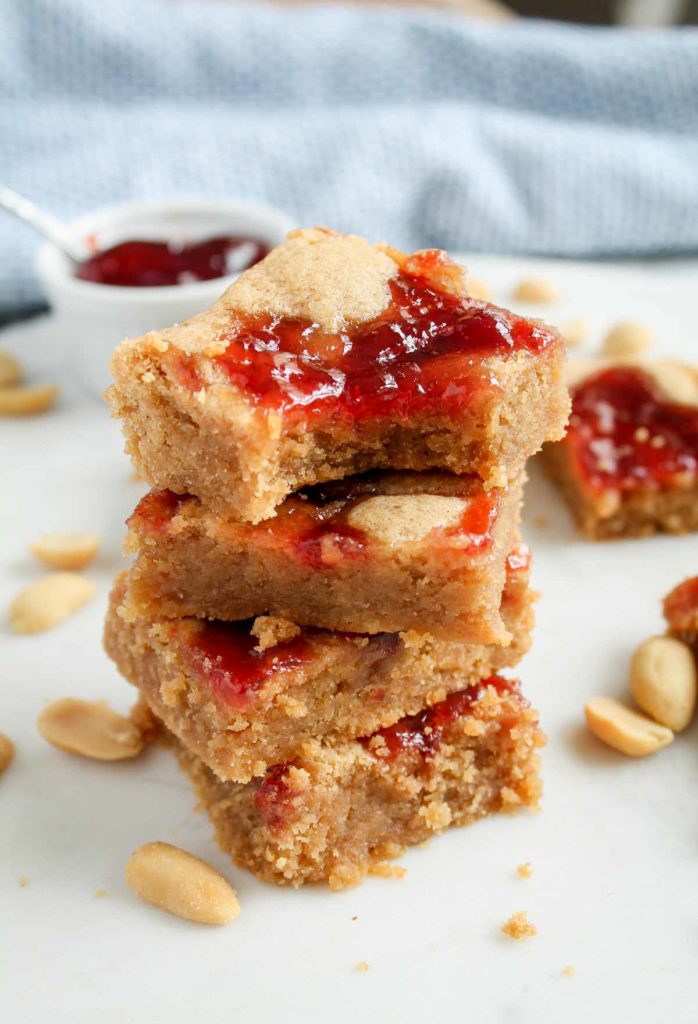
If you like these PB&J bars, you’ll love my easiest peanut butter cookies, peanut butter blondies, and healthier no-bake peanut butter bars.
Story behind the recipe
You could say I’m a PB&J fan. I ate them all the time growing up, as most of us did, but I only really started to appreciate them in my law school years, when actually buying groceries and cooking dinner was often just too much to handle. My husband Brian and I discovered during this time that toasting the bread first takes a peanut butter and jelly sandwich to another level. Trust me. Warm, melty peanut butter (or almond butter, or pecan butter) and your favorite jam or preserves on toasted bread can be a pretty otherworldly experience.
I wanted to create a dessert recipe as a tribute to the toasted sandwich Brian and I love so much. I figured it wouldn’t be hard to create essentially a peanut butter cookie bar with jam swirled in.
The first time I tried to make it, however, the dough was too cake-like, and the jam weighed it down and made it soggy in the middle. Epic fail. The second time, I used too much peanut butter and the result was way too dense. Epic fail.
The third time, though! I finally achieved the ethereal salty butteriness of peanut butter cookies, in bar form. It’s sturdy enough to stand up to the sweet jam on top, and the combination is basically childhood in a bar. It tastes like tree houses and summer pool days and creaky swings and playing tag.
(2023 note: I’ve reduced the sugar and tweaked the flour ratio to make the bars less greasy and more balanced, so…I guess this is the 4th iteration but who’s counting?)
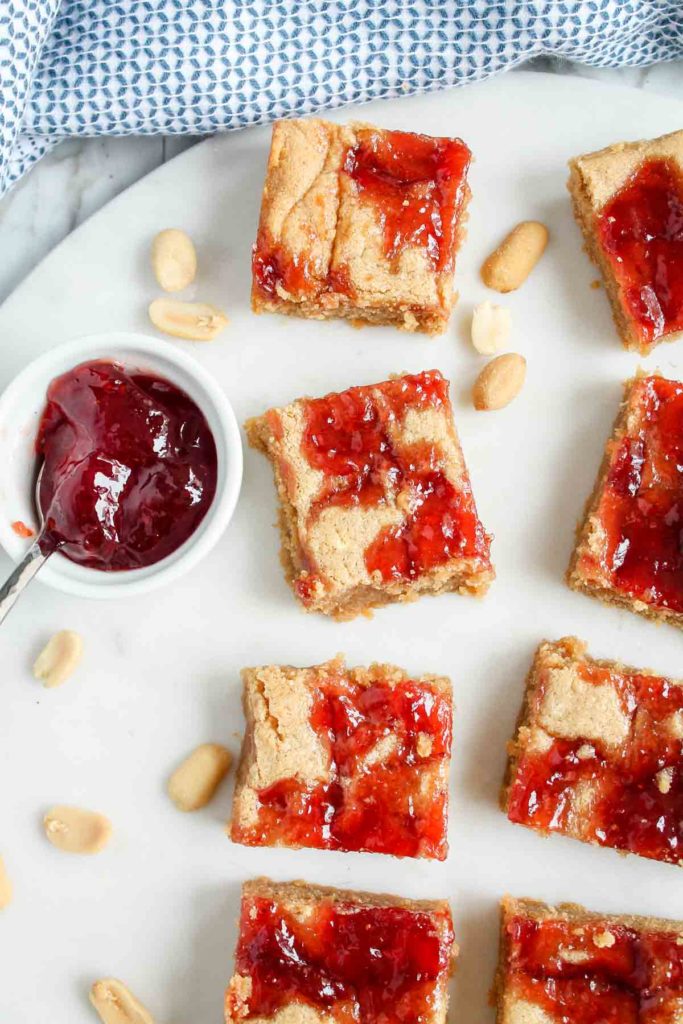
Ingredients
Only a few simple ingredients needed for these peanut butter and jelly bars, and you can substitute or customize as noted below to make these your own! See the recipe card at the bottom of this post for full ingredient list and measurements.
- Butter: unsalted is best so we can control the salt level to our preference.
- Peanut butter: you can use natural or shelf-stable PB, although I prefer the texture of the bars when using shelf-stable. You could substitute almond, cashew, pecan, or hazelnut butter for the peanut butter, or use sunflower seed butter or tahini for nut-free.
- Brown sugar: adds moisture and flavor. You can use regular granulated if you don’t have brown sugar.
- Egg
- Vanilla Extract
- Baking powder
- Salt
- All-purpose flour: sub a 1:1 all-purpose gluten-free flour blend if you need to.
- Jam or jelly of your choosing! There are endless flavor options here but I used classic strawberry jam in these photos and video.
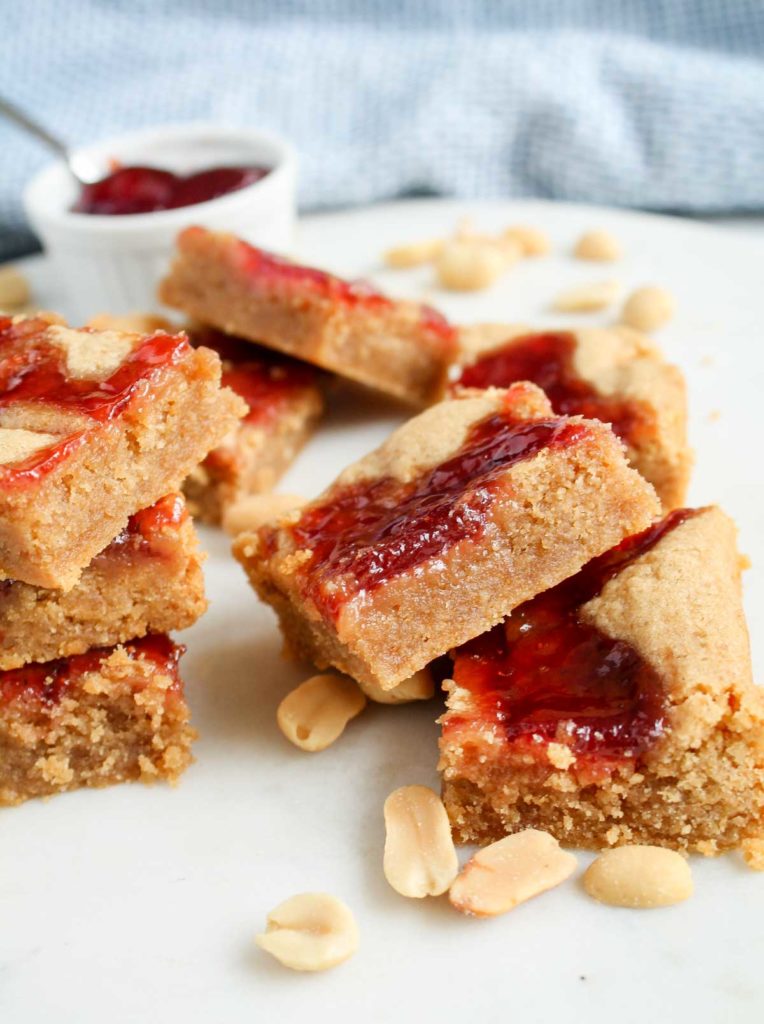
Equipment Needed
I love when these lists are short.
- Glass or other microwave-safe mixing bowl – this is a one bowl recipe, hooray!
- Whisk (or fork) and rubber spatula
- Kitchen scale – I highly recommend weighing your ingredients for most accurate results, especially the flour! This is the primary way I bake these days as it is much more precise than using measuring cups (and there are less dishes to clean).
- 8×8″ square baking pan
How to make peanut butter & jelly bars: step by step
Like many of my recipes, the method here is streamlined and simple. No mixer and only one bowl needed! See the recipe card at the bottom of this post for full instructions.
- Melt butter and peanut butter in a microwave-safe bowl.
- Whisk in brown sugar, egg, vanilla, baking powder, and salt.
- Stir in flour with a spatula until fully combined.
- Spread peanut butter dough into an 8×8 inch square baking pan.
- Dollop teaspoonfuls of jam over the peanut butter mixture, then swirl lightly with a knife. Doesn’t need to be perfect at all.
- Bake for 22-24 minutes until lightly golden at the edges!
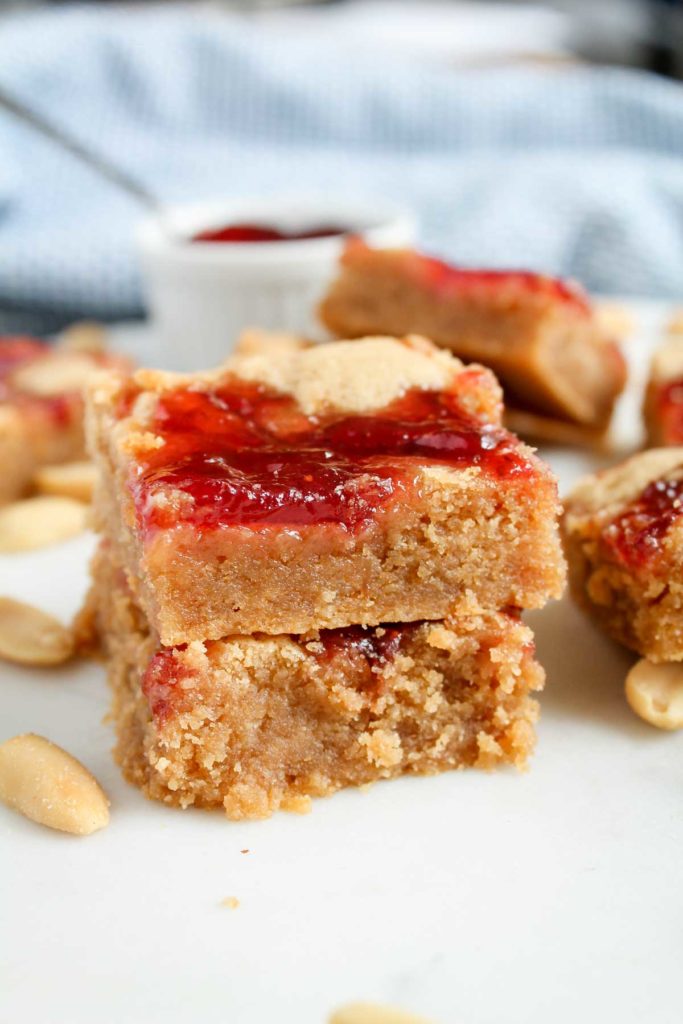
Additions and Substitutions
Peanut butter: substitute almond, cashew, pecan, or hazelnut butter for the peanut butter, or use sunflower seed butter or tahini for a nut-free version.
Jelly or jam: use any flavor of jam or jelly you like! I used strawberry jam in these photos and the video, but I could imagine raspberry, cherry, or grape being good flavors with the peanut butter. I’m also imagining an almond butter/blueberry jam or cashew butter/raspberry jam version and now I need to try those very soon. You could also swirl in some Nutella or chocolate almond butter for a chocolate version!
Flour: if you need gluten-free, just substitute a 1:1 all-purpose gluten-free flour blend with xanthan gum.
Egg: I have not tried this but I think a flax egg would work as a substitute here (1 flax egg = 1 Tablespoon ground flaxseed mixed with 2.5 Tablespoons water. Let sit for 5 minutes before using in the recipe).
Storage
These peanut butter and jelly bars can be stored as follows…
- Room temperature: 2-3 days in an airtight container, or individually wrap them in plastic wrap to take on the go in a lunchbox 🙂
- Fridge: up to a week in an airtight container; microwave for 15-20 seconds to reheat if desired
- Freezer: up to 3 months, well-wrapped individually in plastic and stored in a freezer bag. Microwave for 30 seconds to reheat or allow to come to room temperature for 1-2 hours.
More Peanut Butter Recipes
- The Easiest Peanut Butter Cookies
- Peanut Butter Blondies
- Peanut Butter Swirl Brownies
- Peanut Butter Blossoms
If you make these peanut butter & jelly bars, please leave a star rating and review below. It helps other bakers find and successfully bake the recipe!
Peanut Butter and Jelly Bars
Ingredients
- 6 Tablespoons (85g) unsalted butter
- 1/2 cup (130g) peanut butter (you can use natural or shelf-stable peanut butter)
- 2/3 cup (132g) brown sugar
- 1 large egg
- 1 teaspoon vanilla extract
- 1 teaspoon baking powder
- 1/2 teaspoon salt
- 1 cup (125g) all-purpose flour
- 1/3 cup (100g) jelly or jam of choice (I used strawberry)
Instructions
- Preheat the oven to 350 degrees F. Line an 8×8 baking pan with parchment paper or grease well. Set aside.
- In a large microwave-safe bowl, melt the butter and peanut butter together in 30-second intervals in the microwave. Whisk well until fully melted and combined.
- Whisk in the brown sugar, egg, vanilla, baking powder, and salt until combined.
- Add flour and stir with a rubber spatula until a cohesive peanut butter dough is formed.
- Press the mixture evenly into the pan to form one layer. Dollop small spoonfuls of the jam on top, then swirl gently with a butter knife. The jam may be a bit hard to swirl and that's ok; it doesn't have to be perfect.
- Bake for 22-24 minutes, until the edges are lightly browned and the bars look slightly puffed. Cool completely before cutting into bars!
Notes
Like this recipe? Sign up for my email list to receive my recipes straight to your inbox every time I post!
Amazing! Im on a diet and gave up bread, so I had these as a treat! Amazing! I missed PB&j so much!!!
great!
Awesome recipe! I doubled it and everyone loved them?
awesome! thank you so much!
can this recipe be doubled and if so what size pan should I use?
Yes, you can double and use a 9×13 pan!
I’ve got little sisters, and they are yelling (not actually) at me to make these! I think i just have to! Which should I use: grape jelly or raspberry? Thanks Katie ❤️. You sound like an awesome person. 🙂
Hi Lil! Thanks for the comment 🙂 I prefer raspberry jam but it’s totally up to you!
These fill the craving for PB&J!! To me, they taste even better the second day if they last that long! 😂
Hehehe! A hazard of making them! Thank you!
I love this recipe! First of all, SUPER EASY! I know you’re supposed to let the ingredients come to room temp. It’s rare when I actually follow that rule. But it this case, the planets lined up, angel’s sang and I let that all come to room temp. If you do that folks, you don’t even need to haul out the mixer. I used a whisk. I love chocolate raspberry anything. Well I didn’t have raspberry jam but I did have black berry jam and have learned recently, that black berries and dark chocolate are meant for each other. So that’s what I did. Black berry jam and dark chocolate chips sprinkled over the top. I like nice stuff and I don’t want to go to a lot of trouble. This fit the bill and is going down in the books! Thank you! ✌️🕊️💙☕
You crack me up Erin! I love the idea of blackberry and dark chocolate in these bars! Thank you for the review!
These are absolute wonderful!!! It’s an easy recipe. Although I a gluten-free I was able to subsitute my usual GF flour. I also used my mom’s homemade strawberry jelly. This recipe will certainly be added as a favorite dessert or snack.
Thanks so much, Gina! I’m so glad you were able to adapt it with GF flour, that’s great to know. So glad you enjoyed!
Oh ma gosh! These look so great for the kiddos 🙂
Thanks Jamie! They make a perfect snack 🙂