Simple Homemade Almond Butter – all you need is almonds, salt, and a food processor! (Jump to recipe)
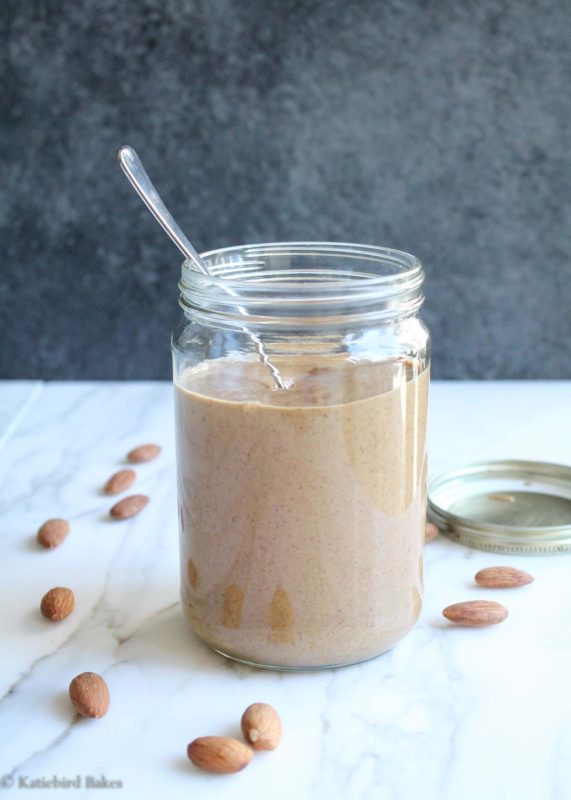
For anyone who follows me on Instagram, it’s no secret that I have a serious nut butter obsession. I’ve always been a peanut butter fanatic, but in recent years, I’ve expanded my palate to include all sorts of nut butters – almond, cashew, macadamia, and most recently, this bourbon vanilla pecan butter (ugh, so good).
I’m determined to test out my theory that any nut can fulfill its destiny of becoming a butter. Weird things have been coming to mind — pistachio cardamom, chai coconut cashew, maple walnut — but I thought perhaps it might be best to return to the basics first and show you how to make simple almond butter at home. To walk before we can run, so to speak. And trust me, there’s nothing basic about almond butter. It’s one of my favorite foods!
Let’s talk about pricing for a minute here. One 16-oz jar of commercially made almond butter can set you back, according to my Google search, anywhere from $10.95 – $18.35, and Trader Joe’s is a bargain by comparison at $7.99 per jar in Chicago. Point is, this stuff isn’t cheap. But I have good news: making it yourself is WAY cheaper and it’s outrageously easy!
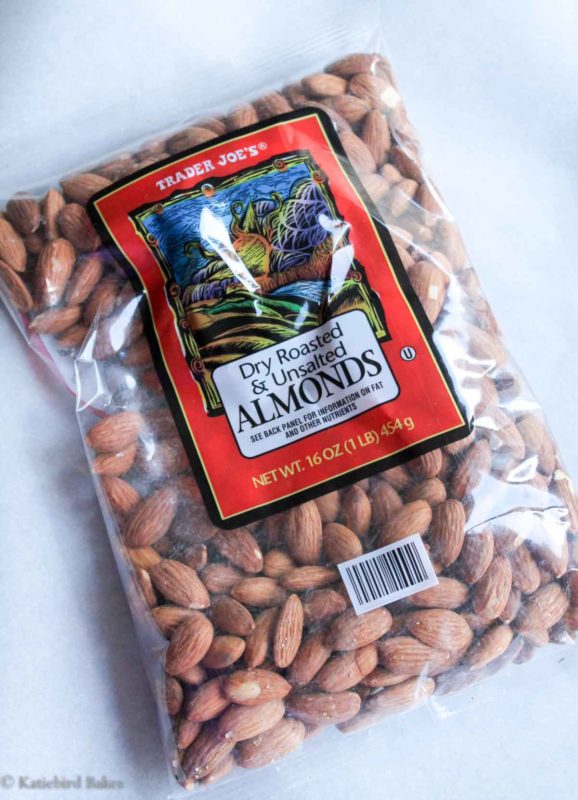
I bought this 16-oz bag of dry roasted, unsalted almonds from Trader Joe’s for $5.99. If you go to a grocery store with bulk bins, I’m betting it will be even cheaper. And this + salt + a little bit of patience is all we need for our homemade almond butter journey!
So let’s do this thing. Start with 3 cups of almonds, which was about how many were in that 16-oz bag above. I prefer to use unsalted almonds so I can control how much salt goes in. Spread them out on a baking sheet and toast in the oven at 350 for 8-10 minutes, until they are fragrant. Toasting them warms the oils in the nuts and helps them break down faster when processing.
Then pour the warm nuts into the bowl of your food processor (you can also use a high-powered blender like a Vitamix, but I think the processor is easier). Add some salt, which really adds to the flavor of the almonds. I used 3/4 teaspoon but you can use more if you like, and you can always add more at the end once you taste it. This is totally optional, but I also added a teaspoon of vanilla extract, which adds just a subtle sweetness (without sugar) and depth – but if you want to stick to the pure stuff, please do.
Now just process the heck out of these nuts. It will take longer than you think it should. You’ll have to stop the processor every couple of minutes to scrape down the sides, and I also scrape along the bottom edges to loosen anything that might be trapped. It will likely take about 10-12 minutes total of processing, which isn’t THAT long but feels like a long time when the processor is running. Just be patient. Slice up an apple or banana or make some toast while you’re waiting so you’re ready to devour the second it’s done!
Here are the stages:
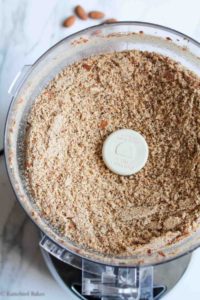
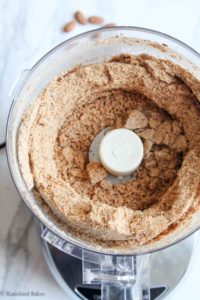
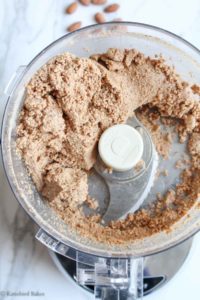
At the 5 minute point, things will seem like they’re getting out of control and you’re never going to reach the butter stage. You may be saying to yourself, as Gandalf once did, “when did [you] abandon reason for madness?” Never fear, friends. Patience!
Keep processing for 2 minutes at a time, then scrape down. This part takes the longest. It’ll keep balling up and spinning around, starting to smooth out but then balling up again. Just keep going. At about the 10-12 minute mark, your patience will finally be rewarded and suddenly everything will become smooth and glorious butter. Like so:
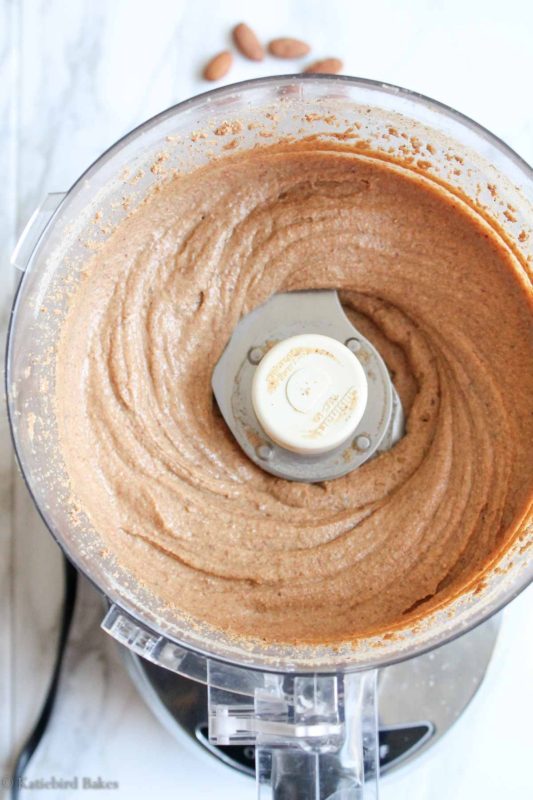
You can stop here, or keep going for another 2-3 minutes to get a really liquidy texture like the store-bought varieties have. Just depends on your preference. I kept processing for 3 more minutes after I took this picture, and the result was SO smooth and pourable. Note that at this point, you should stop and taste it to make sure the salt level is where you want it to be. If not, add more, process for a minute or so, then taste again.
Would you judge if I said I ate a not-insubstantial amount of this almond butter straight out of the processor with a spoon while “tasting” it, just to be sure it was right?
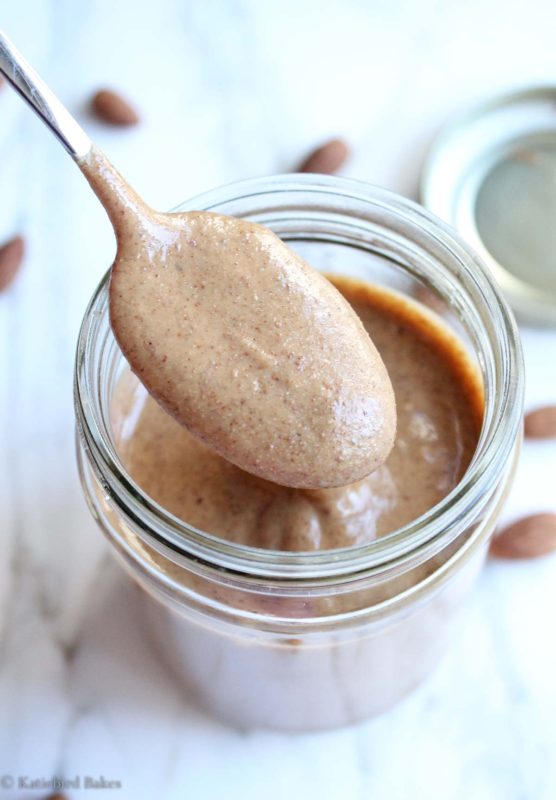
Welp, I did. Not one regret.
I honestly think homemade almond butter blows all commercial varieties out of the water. It just tastes so much more fresh and naturally sweet. Put this lovely spread on apples, bananas, toast, crackers, pancakes, oatmeal, or even waffles or banana bread– the possibilities are endless, and amazing. Enjoy!!
Homemade Almond Butter
Ingredients
- 3 cups dry roasted, unsalted almonds (equivalent to one 16-oz bag)
- 3/4 teaspoon salt
- 1 teaspoon vanilla extract (OPTIONAL)
Instructions
- Preheat the oven to 350 degrees F. Spread the almonds out onto a parchment-lined baking sheet, and toast in the oven for 8-10 minutes, until fragrant.
- Pour the warm almonds into the bowl of a food processor and add the salt and vanilla extract (if using).
- Process for two minutes at a time, scraping down the sides and along the bottom edge of the bowl with a metal spatula when you stop each time (I don't recommend rubber or silicone as they will get cut by the blade).
- After about 5 minutes of processing, the mixture will start balling up and spinning around, and it will seem like nothing is going to happen - just be patient. Keep processing and scraping down every 2 minutes.
- At about the 10-12 minute mark, the mixture will finally smooth out into a butter! Stop the processor, taste it and see if you like the salt level. If not, add 1/4 teaspoon, process for a minute, and taste again. Repeat if necessary.
- You can stop here, or keep processing for 2-3 more minutes for a really creamy, liquidy texture like the store-bought almond butters.
- Pour into a 16-oz jar (it will come up 3/4 of the way) and enjoy! Store in the fridge for up to 3 weeks, though I doubt it will last that long.
Like this recipe? Sign up for my email list to receive my recipes straight to your inbox every time I post!
