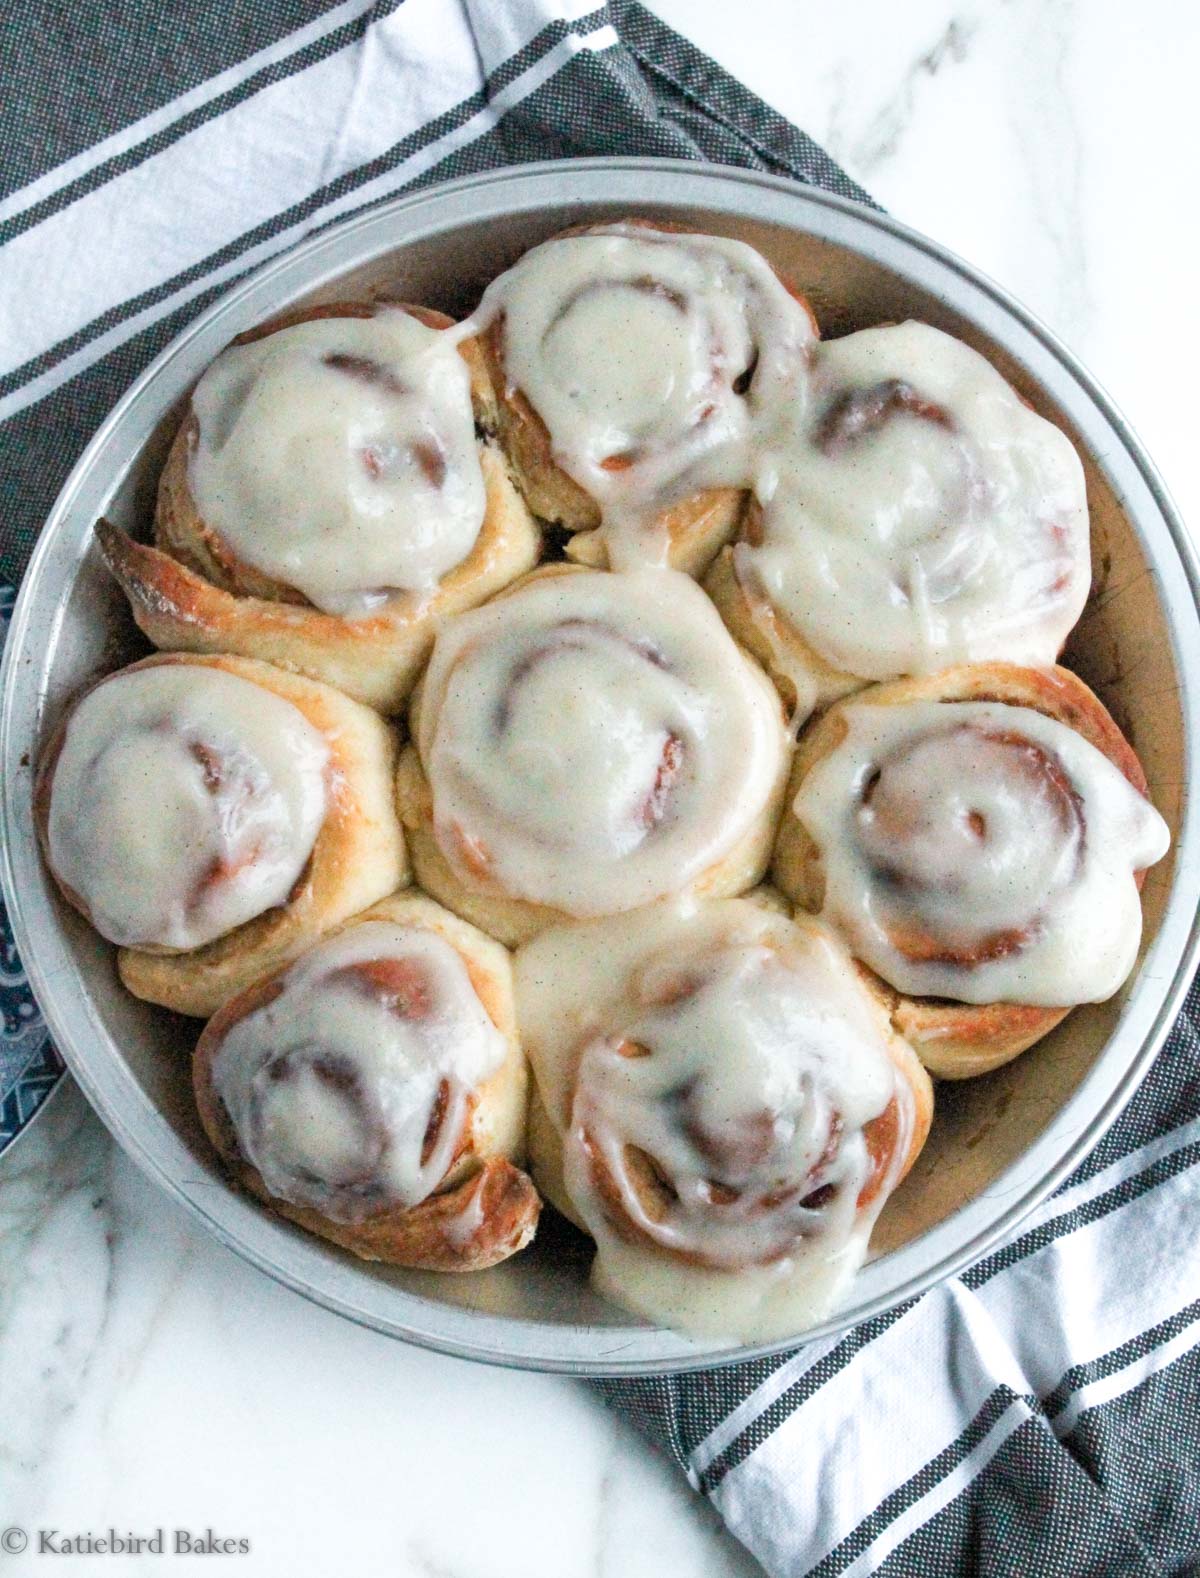
Soft, sweet, incredibly easy no-knead cinnamon rolls topped with a decadent vanilla cream cheese icing makes for an easy yet unforgettable holiday breakfast!
I’ll be honest: in the past, I’ve been leery of yeast doughs because I’m nervous that anything and everything will go wrong. Examples: I’ll over-knead it, the yeast will die because the water is too hot, I’ll let it rise for too long and everything will collapse and wind up in the trash can with my failed hopes.
I have good news, though: these incredibly soft, gooey, rivaling-Cinnabon-type cinnamon rolls require NO KNEADING and no mixer. Trust me, it’s like a superpower to have this recipe in your back pocket and it’s worth it to push through your fear. The dough is incredibly forgiving and not intimidating for a yeast-based dough, so it’s a great place to start if you’re nervous!
If you like these cinnamon rolls with cream cheese icing, you should also check out my easy no-knead sticky buns, carrot cake cinnamon rolls, and rhubarb rolls.
Why you’ll love this recipe
I love how simple this recipe is. The only equipment you need is a large pot (I used my Dutch oven) or a large microwave-safe bowl, a whisk, and a wooden spoon. I also recommend using a kitchen scale – weighing your ingredients yields the most accurate results, especially for flour! This is the primary way I bake these days as it is much more precise than using measuring cups (and there are less dishes to clean).
Delicious baked goods, even yeast ones, do NOT have to be intimidating. The only thing you really need with these rolls is time and patience, because they will smell amazing long before you can sink your teeth into them.
Here are the great things about this recipe:
- No mixer. Just a bowl, a whisk, and a spoon.
- No kneading. This is a very hands off recipe!
- No special bread flour.
- A very pliable dough that doesn’t stick to everything it touches.
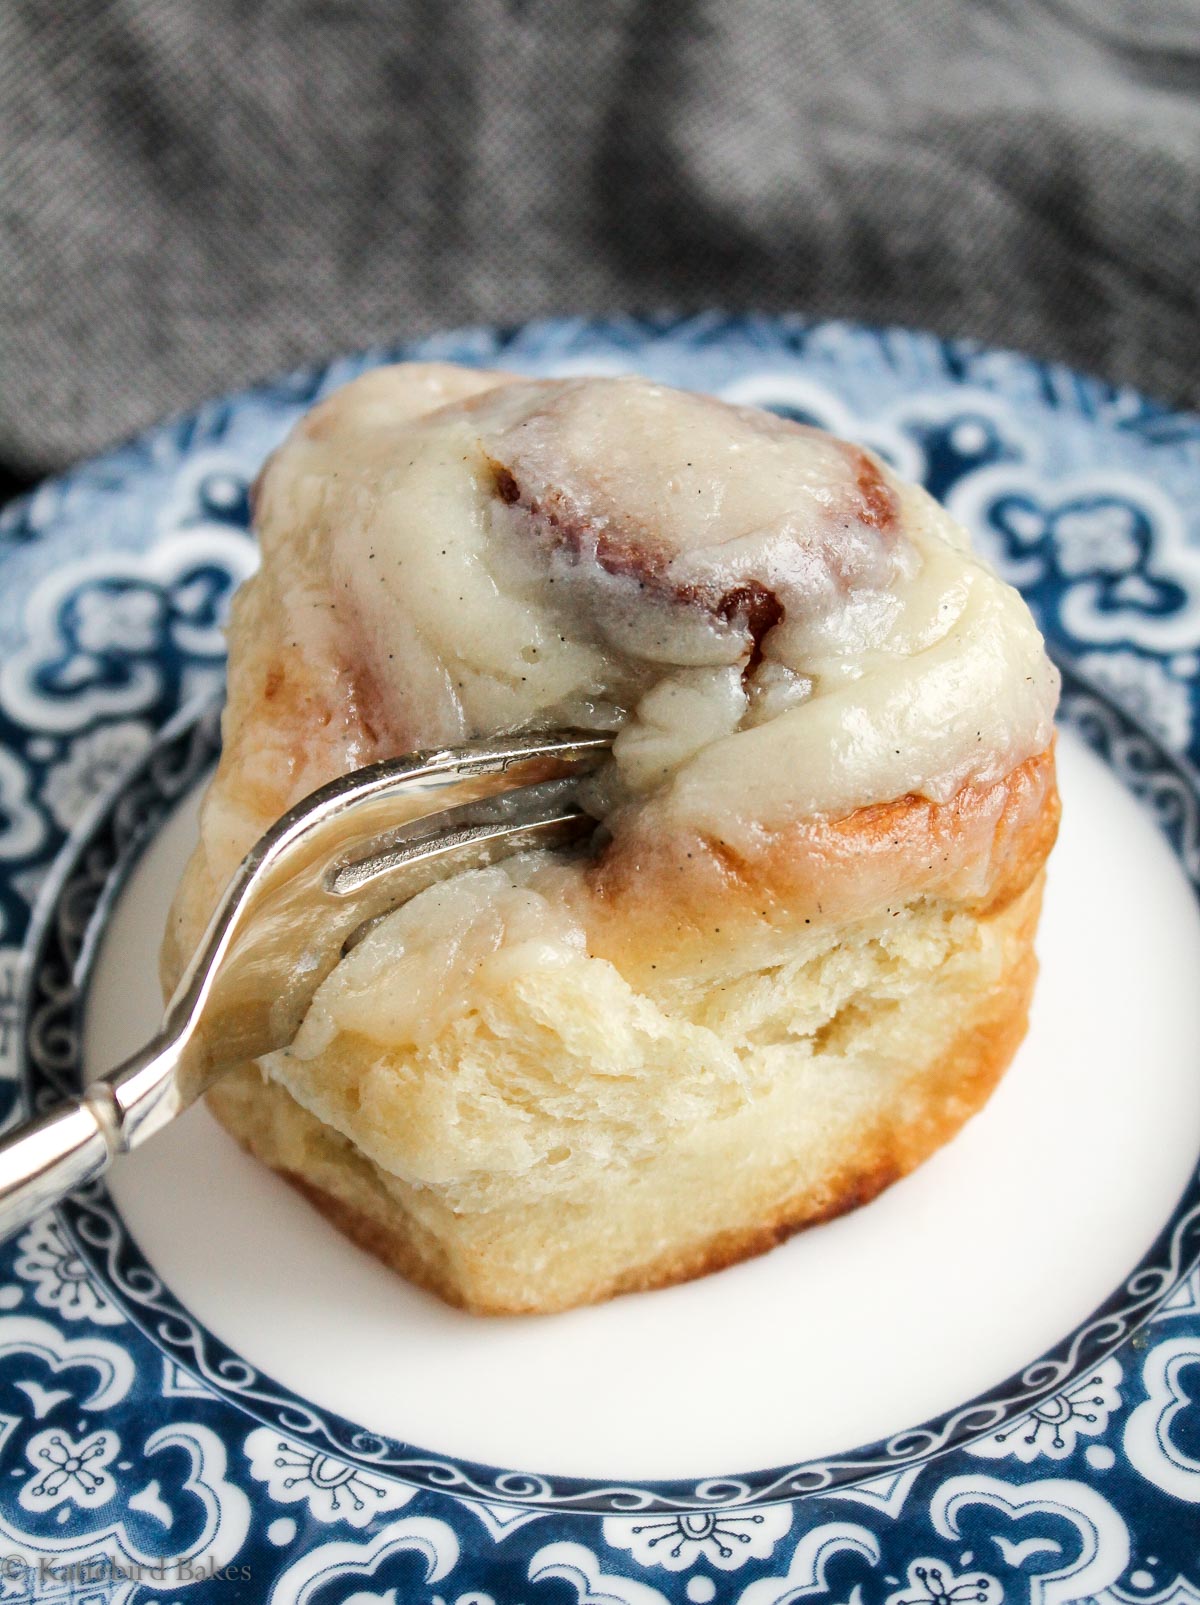
- The end result is HEAVENLY. Unbelievably soft, sweet, decadent cinnamon rolls with the most glorious vanilla bean cream cheese icing as a velvety blanket over top that seeps into all the nooks and crannies.
- Grab a cup of coffee and let’s do this!!
Ingredients for the no-knead cinnamon rolls
Only a few simple ingredients needed for these incredibly easy cinnamon rolls, and you can substitute or customize as noted below to make it your own! See the recipe card at the bottom of this post for full ingredient list and measurements.
- All-purpose flour. No bread flour needed here! I haven’t tried this with a gluten-free all purpose flour, and I think the outcome likely would be different, would recommend looking for a gluten-free specific recipe if needed.
- Milk. Whole milk is best here due to its protein and fat content, but I’ve successfully made this recipe with 2% milk and non-dairy milks. Oat milk is the closest in texture and results to dairy milk, so if you need to use a plant-based milk that’s what I’d recommend. Almond milk will result in a much thinner dough and you’ll likely need to add more flour to compensate.
- Oil. Olive oil, canola oil, and even melted coconut oil will work here.
- Granulated sugar. I’ve heard that honey or maple syrup may work as well, but have not tried this.
- Instant yeast or active dry yeast. Either one will work – 1 packet needed (2 and 1/4 teaspoons).
- Salt
- Baking powder and baking soda (I know, these are unusual in a cinnamon roll recipe but they help the dough be pliable and not sticky)
Ingredients for the brown sugar cinnamon filling:
- Melted unsalted butter – you could substitute a vegan butter or even melted coconut oil if needed here
- Brown sugar – coconut sugar would likely work as well
- Cinnamon
Ingredients for the cream cheese icing
Cream cheese icing for cinnamon rolls is essentially cream cheese frosting, but with a bit more milk to thin it out. I keep my cream cheese icing on the less sweet side so the tangy flavor comes through and contrasts beautifully with the gooey sweet cinnamon rolls. Here are the ingredients you’ll need:
- Cream cheese. Full fat recommended, and allow it to come to room temperature before using. I have not tried a vegan cream cheese replacement but I think it would work.
- Unsalted butter. I think a vegan butter would work as a substitute but again, have not tried it.
- Powdered sugar (confectioner’s sugar)
- Vanilla extract or vanilla bean paste. I highly recommend using the paste if you can find it, as it is thick and has flecks of vanilla in it!
- Milk of choice. Dairy or non-dairy milk will both work here.
- Salt. Essential to set off the sweetness of the icing.
How to make no-knead cinnamon rolls
STEP 1: On the stove or in the microwave, heat milk, oil, and sugar together until just under a boil. Why do this annoying extra step? Because we’re scalding the milk to denature the whey proteins and allow for better gluten development and moisture absorption in the dough. It’s science! Can you just use warmed milk and skip this step? Yes, but the results won’t be quite as good.
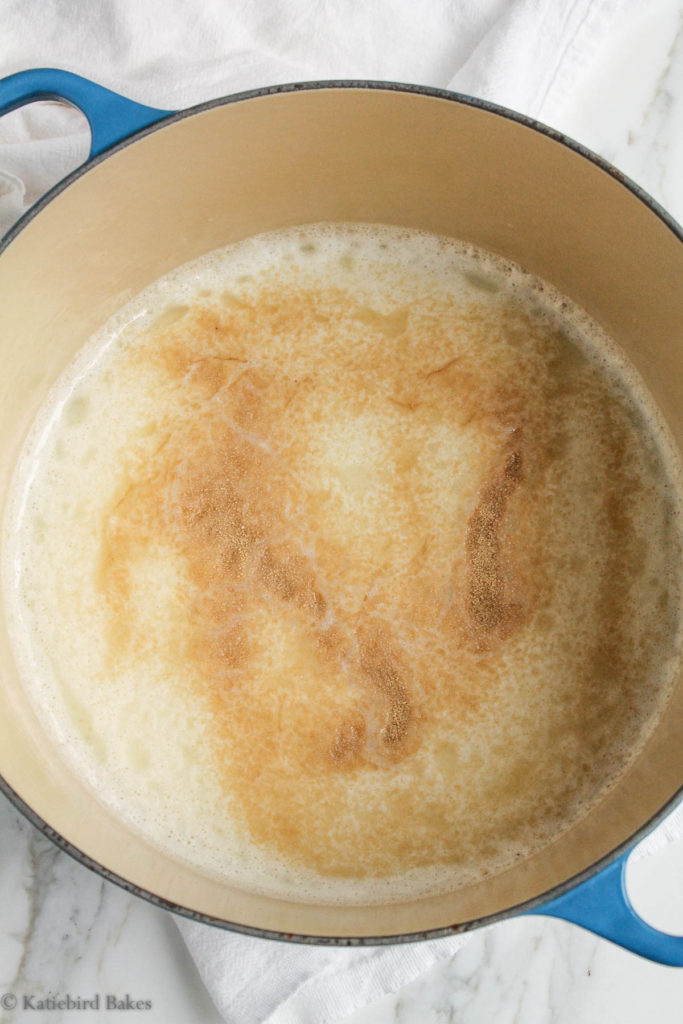
STEP 2: let the milk mixture cool until it’s just warm to the touch (about 105-110 degrees F – I checked this with a digital thermometer but you can just stick your finger in there to judge too).
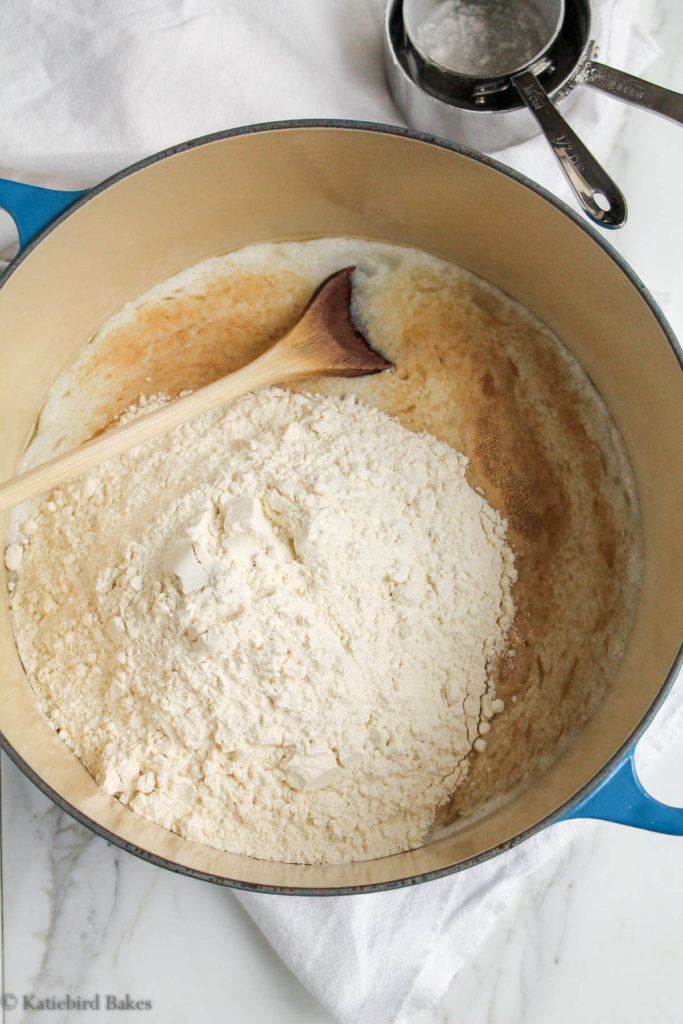
STEP 3: mix in the first 4 cups of flour and let it rise, covered, sitting on your stove until doubled in size. This should take about an hour depending on the temperature in your kitchen. I just put the lid on my Dutch oven and let it sit on the back of the stove – if your kitchen is cold, turn the oven on for some ambient heat!
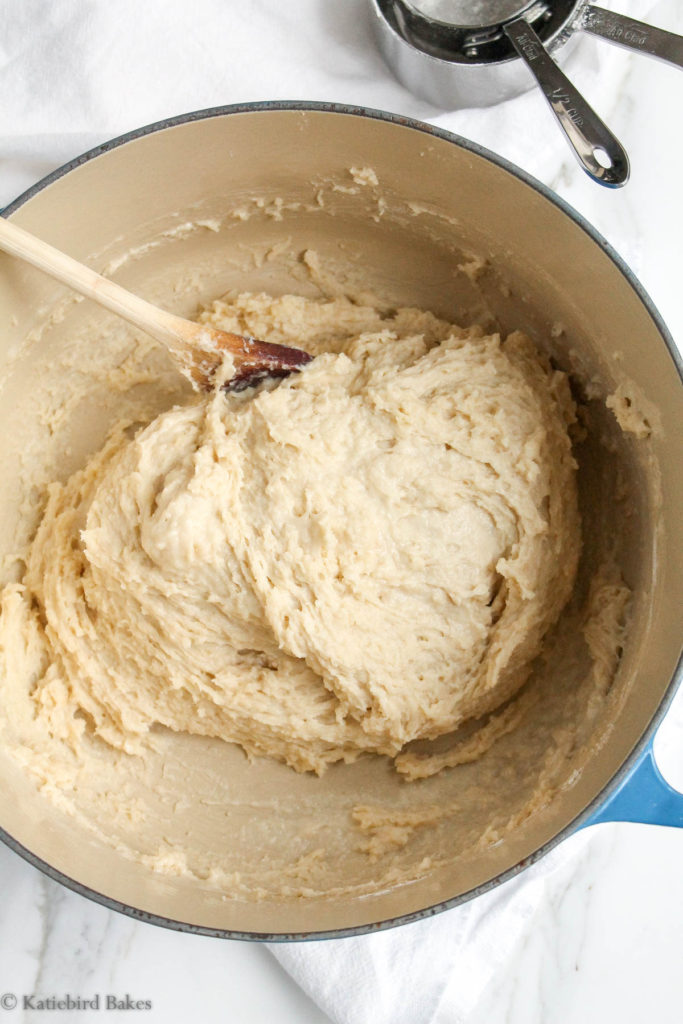
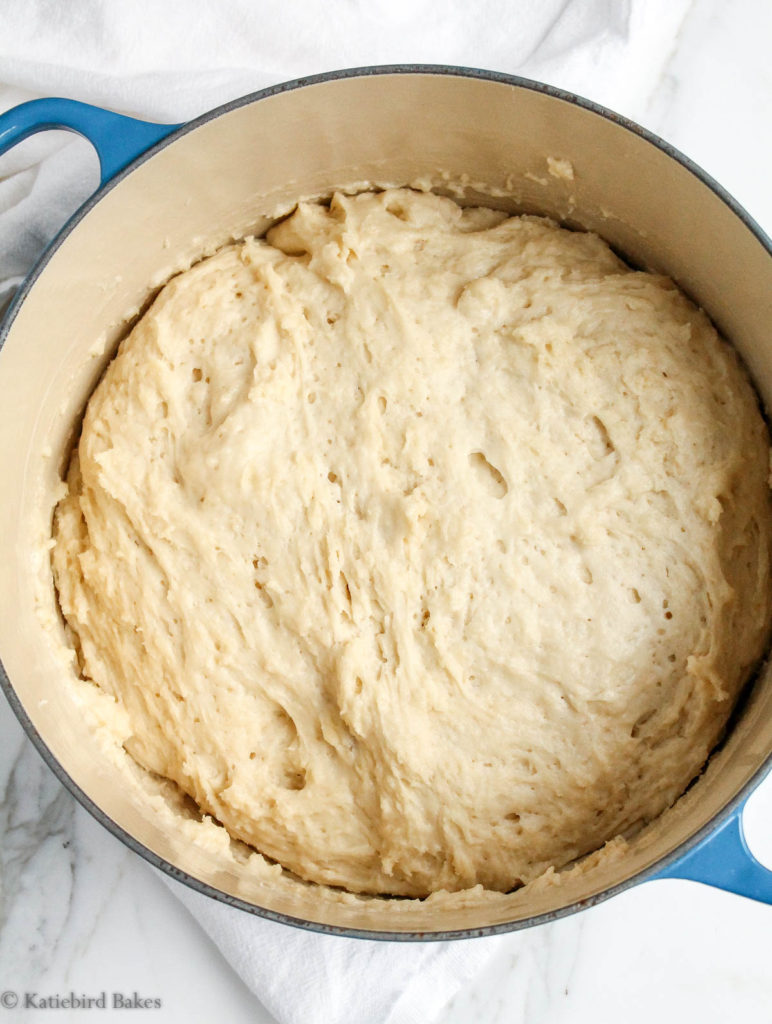
STEP 4: once the dough has done its first rise and is nice and puffy, stir in the remaining 1/2 cup of flour, baking soda, baking powder, and salt, until a cohesive dough forms. The dough should not be insanely sticky – if it is, place it in the refrigerator for an hour. That will help calm down the gluten and allow the flour to absorb more moisture.
STEP 5: here’s the fun part.
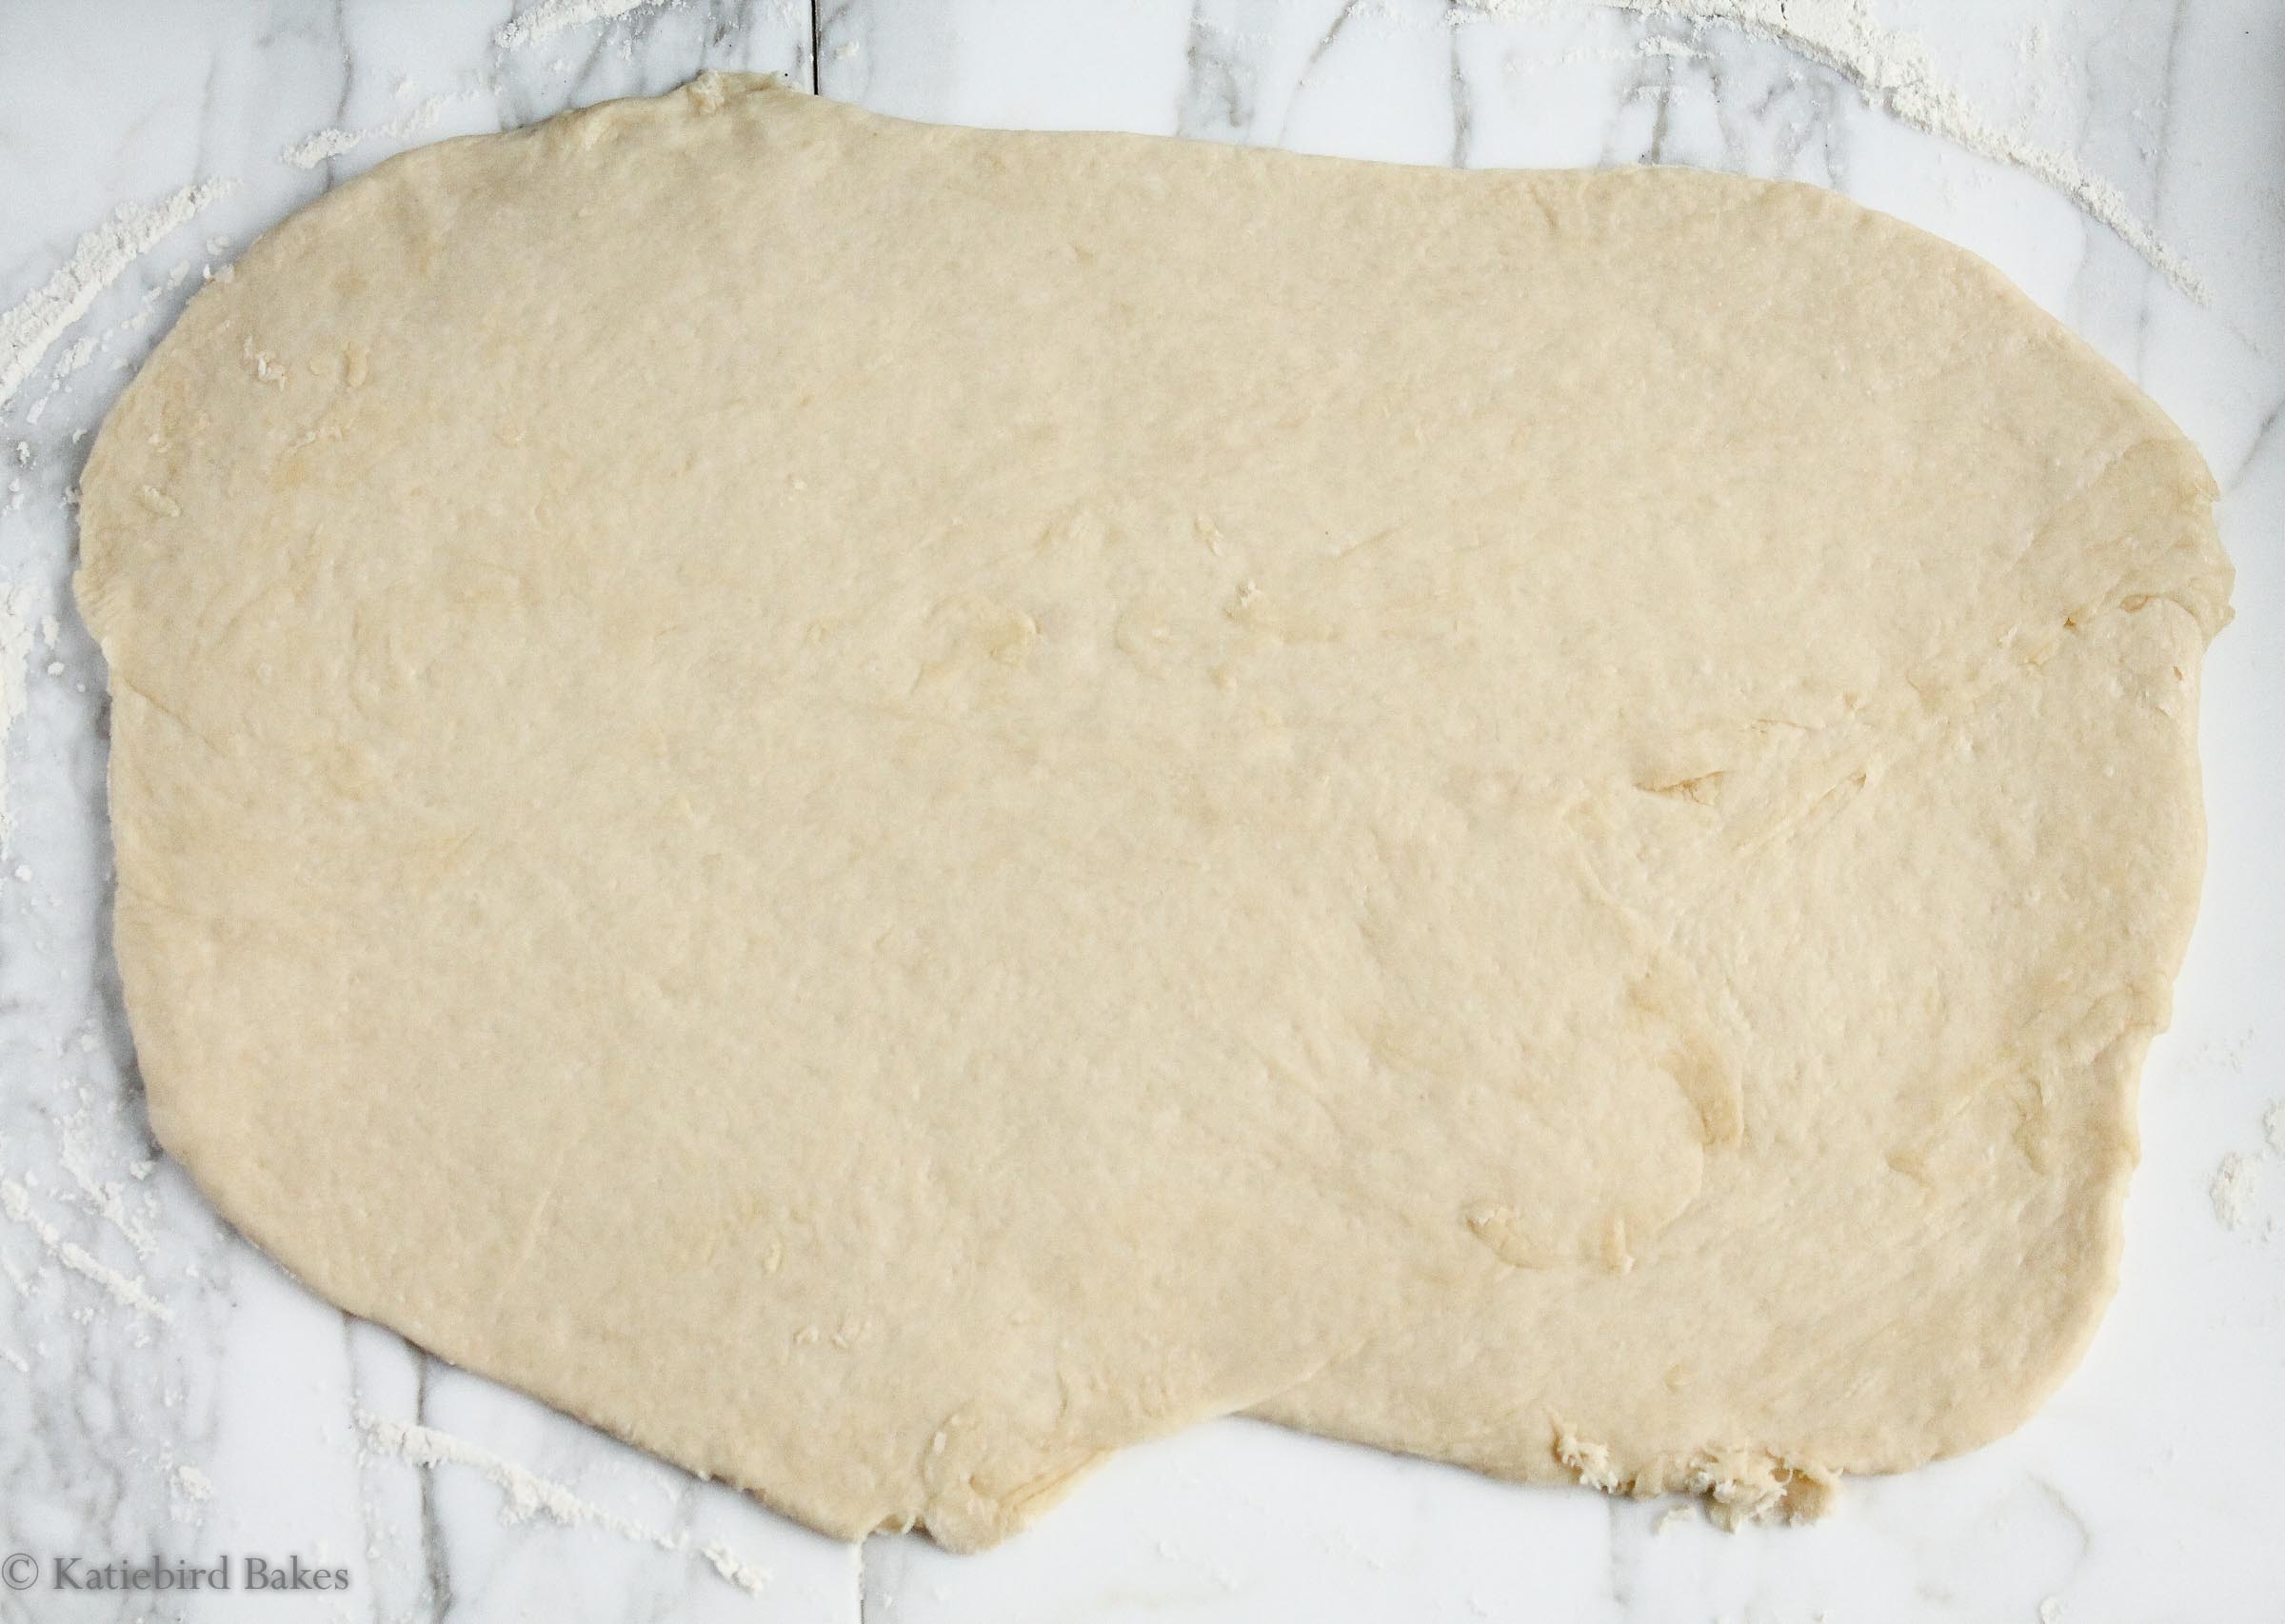
Roll out half of your dough (you’ll do the other half afterwards) to a rectangle shape, about 12 inches long, and spread it VERY liberally with melted butter. This is not a time to worry about calories. Sprinkle on brown sugar, then cinnamon.
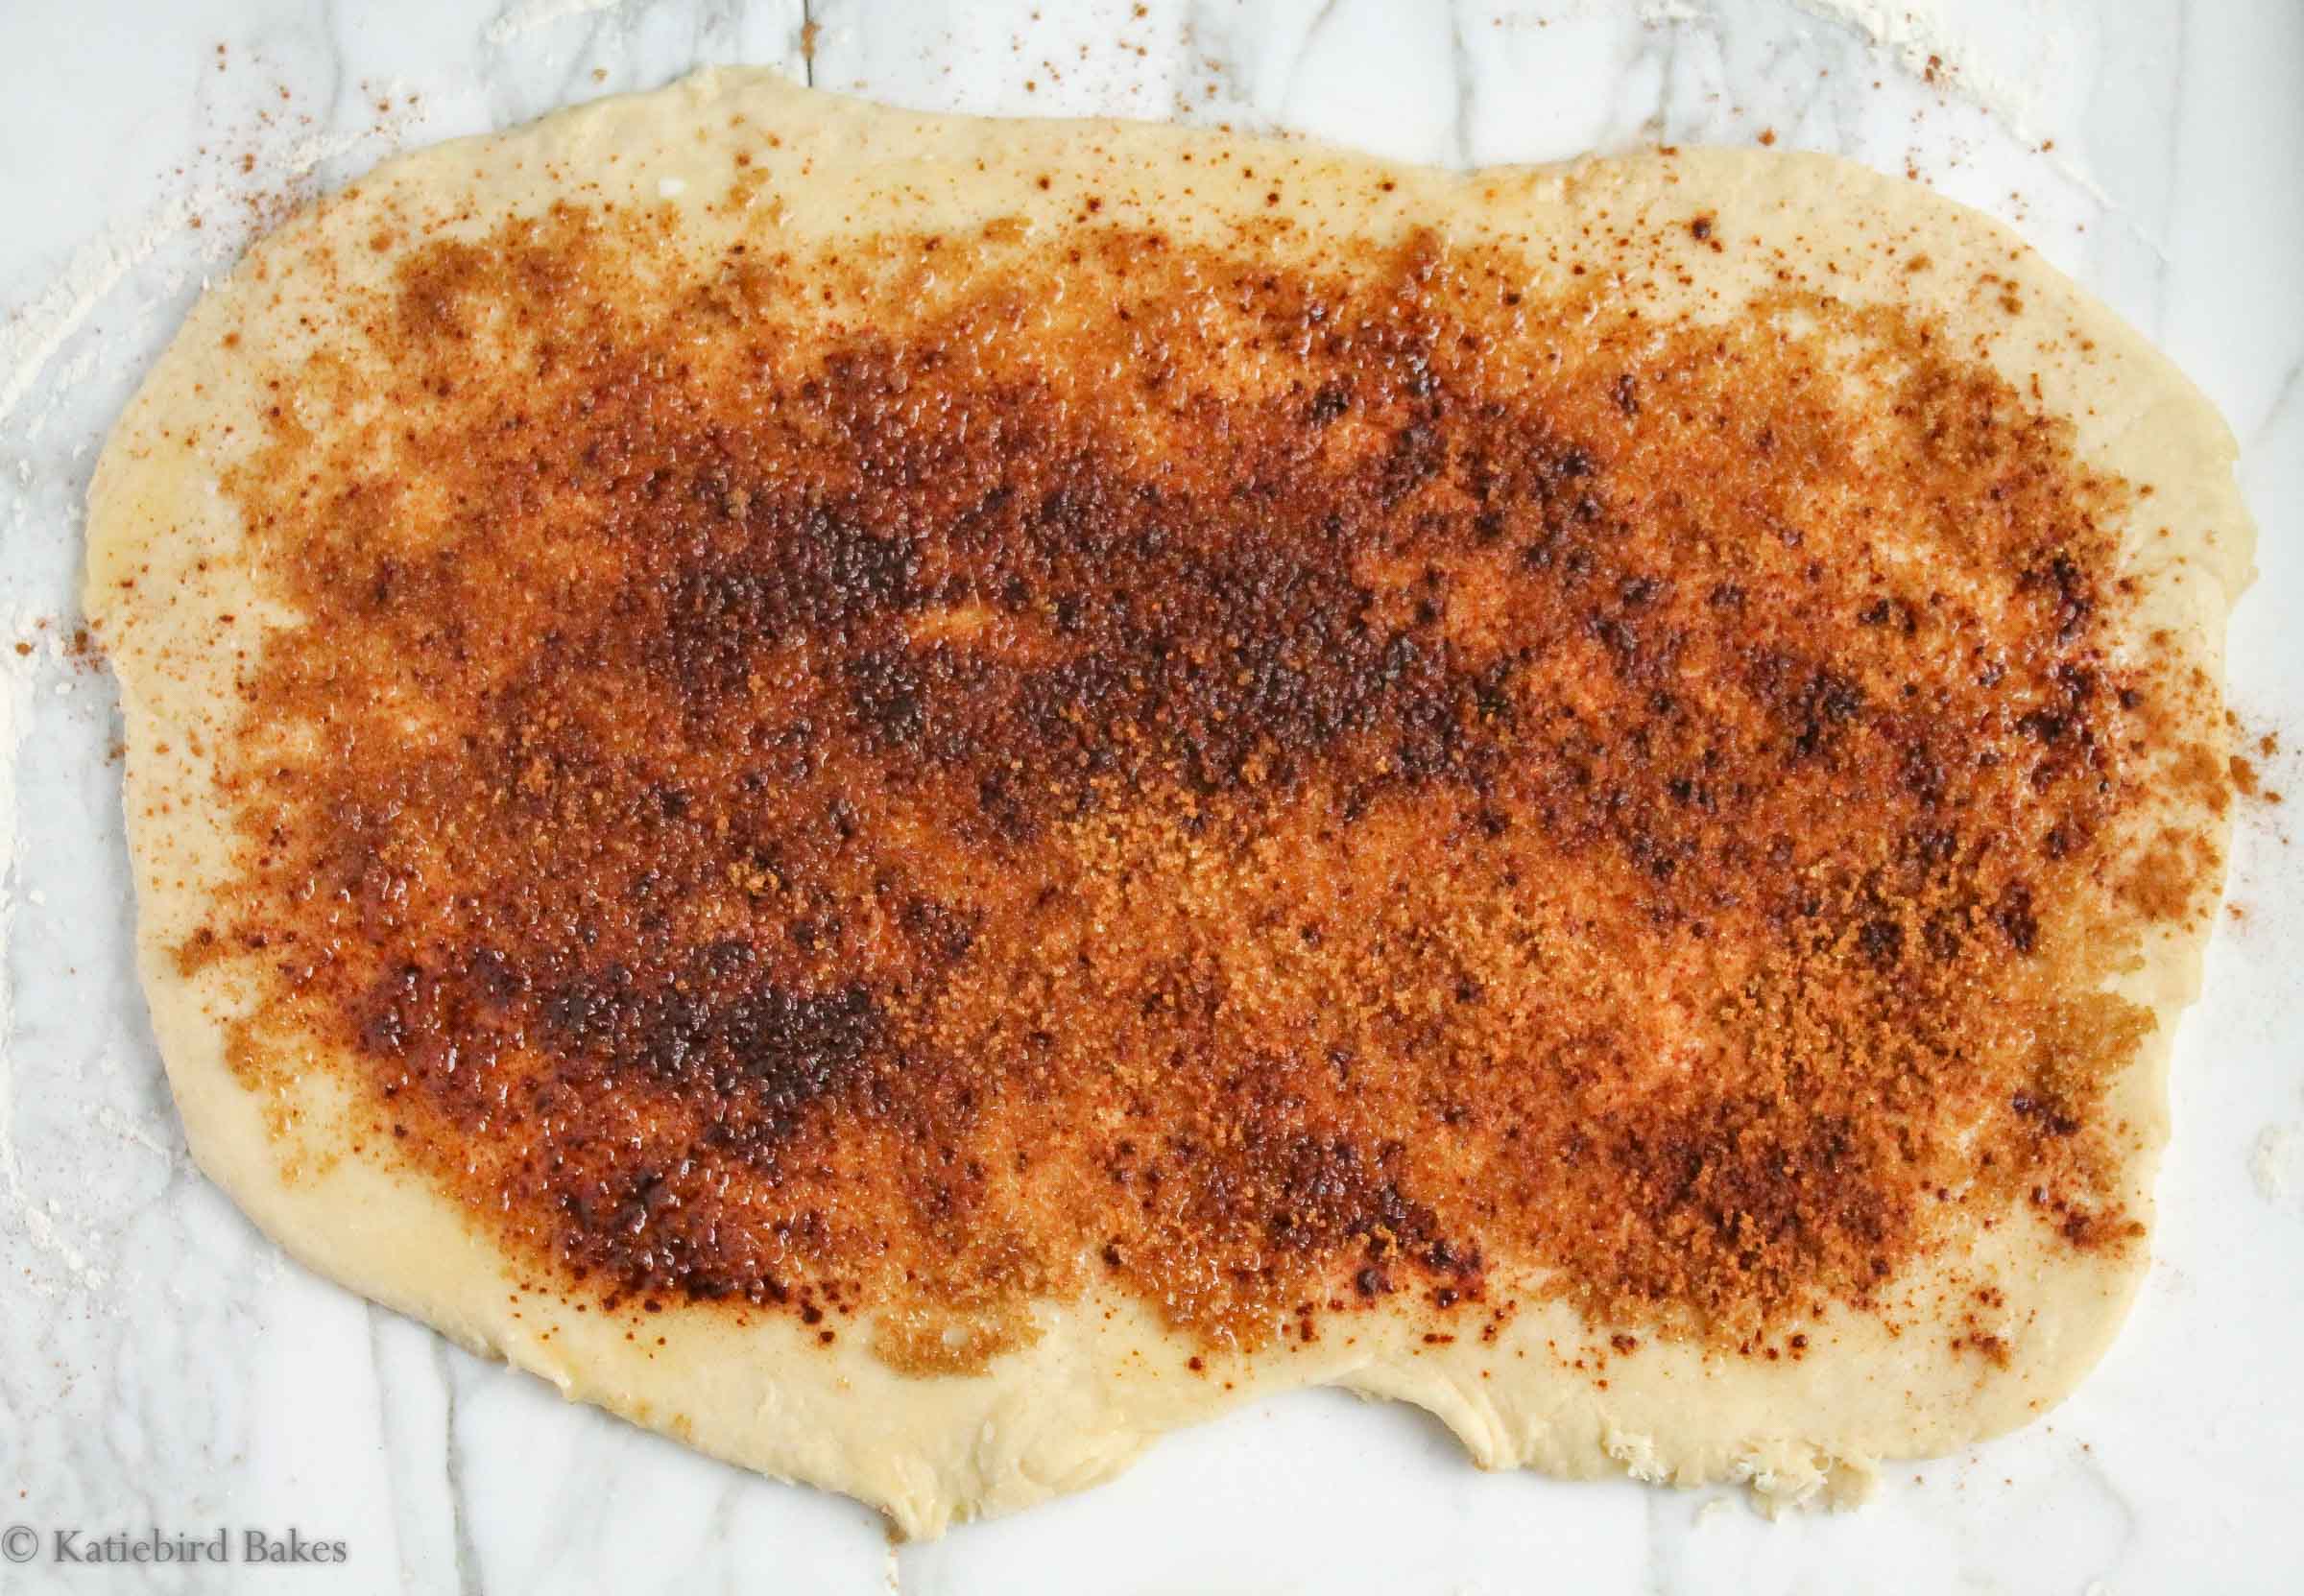
Omg. Yes.
STEP 6: roll it up starting with the long edge furthest from you, and cut it into 8 evenly sized rolls with a very sharp knife. Arrange in a pie plate (my favorite vehicle for cinnamon rolls) or 9-inch round cake pan.
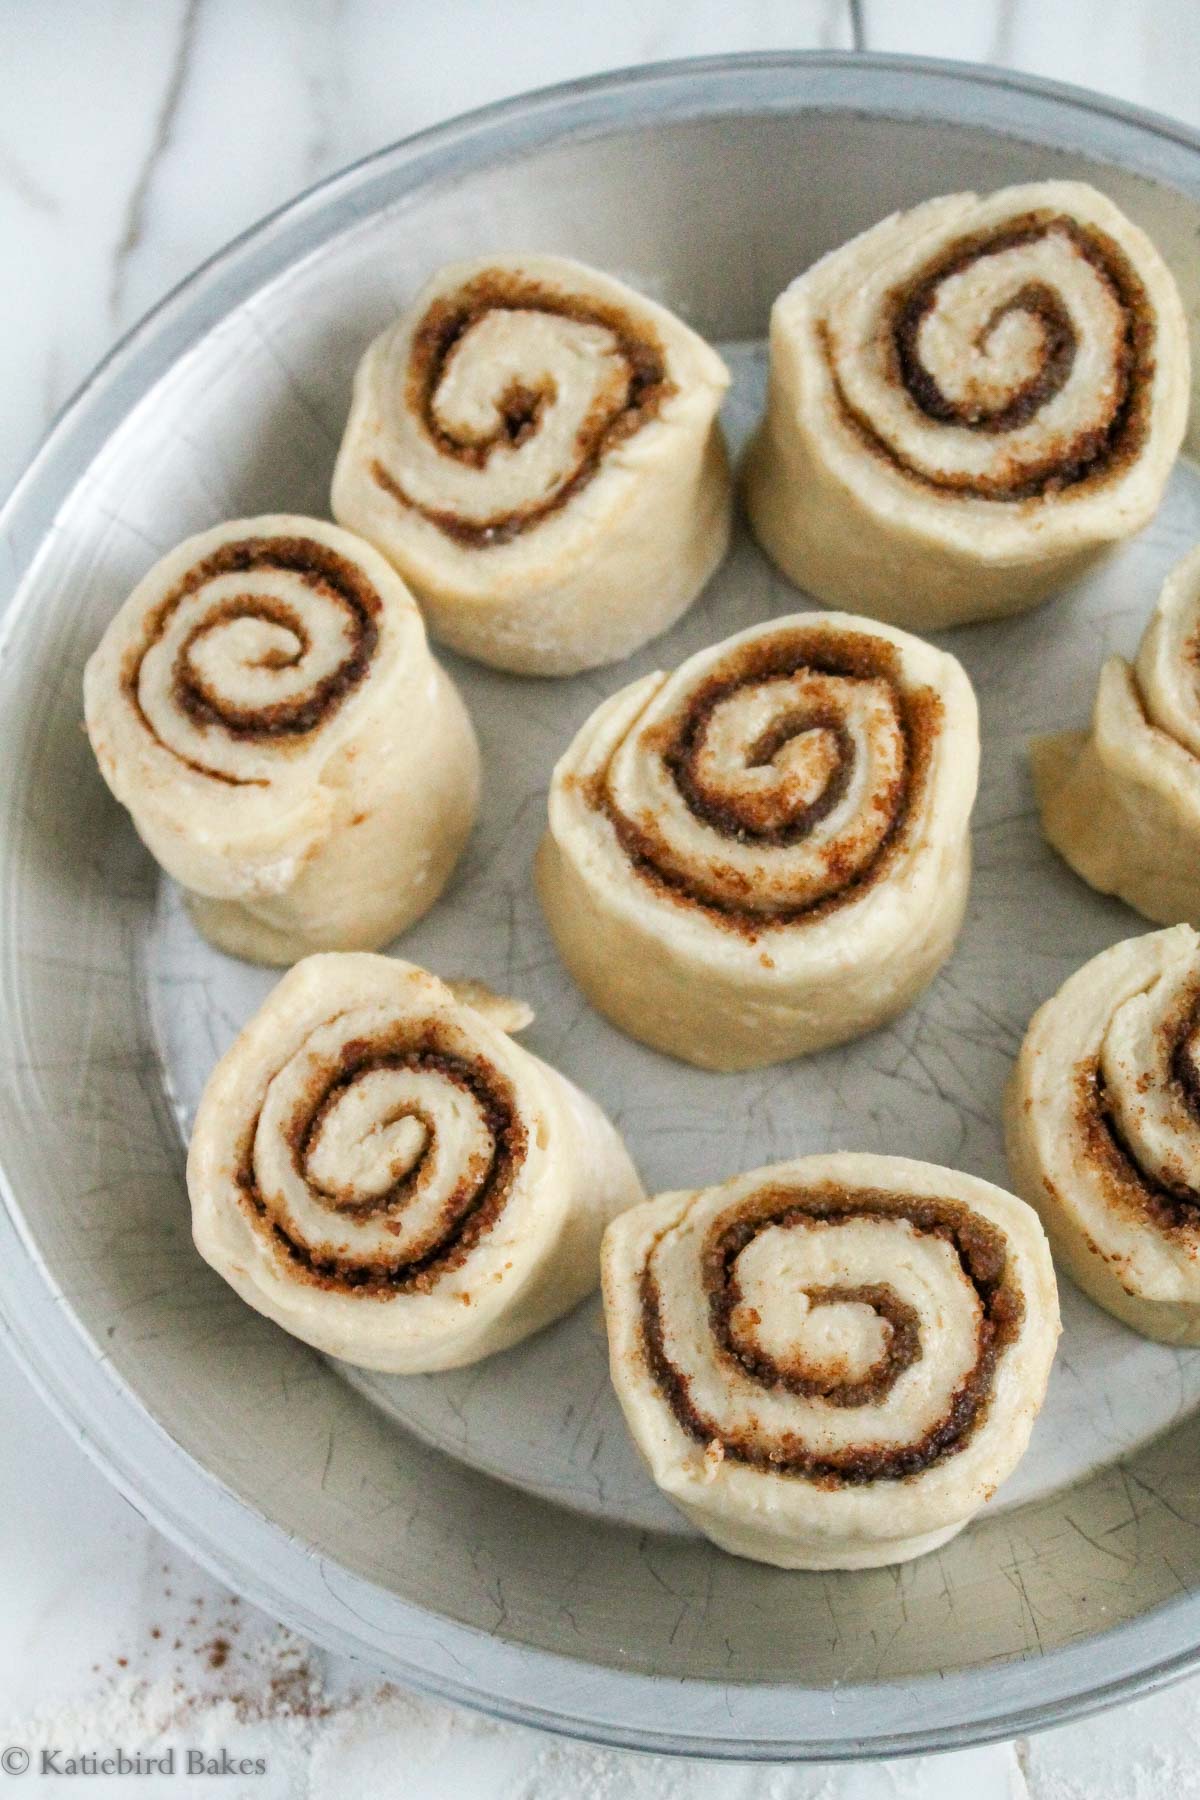
STEP 7: repeat the process with the other half of the dough. Wait for a torturous 15-20 minutes while the cinnamon rolls rise again, and an even more torturous 20 minutes while they bake in a 375 degree oven. Distract yourself from the smell by putting together the cream cheese icing (steps below) while they bake.
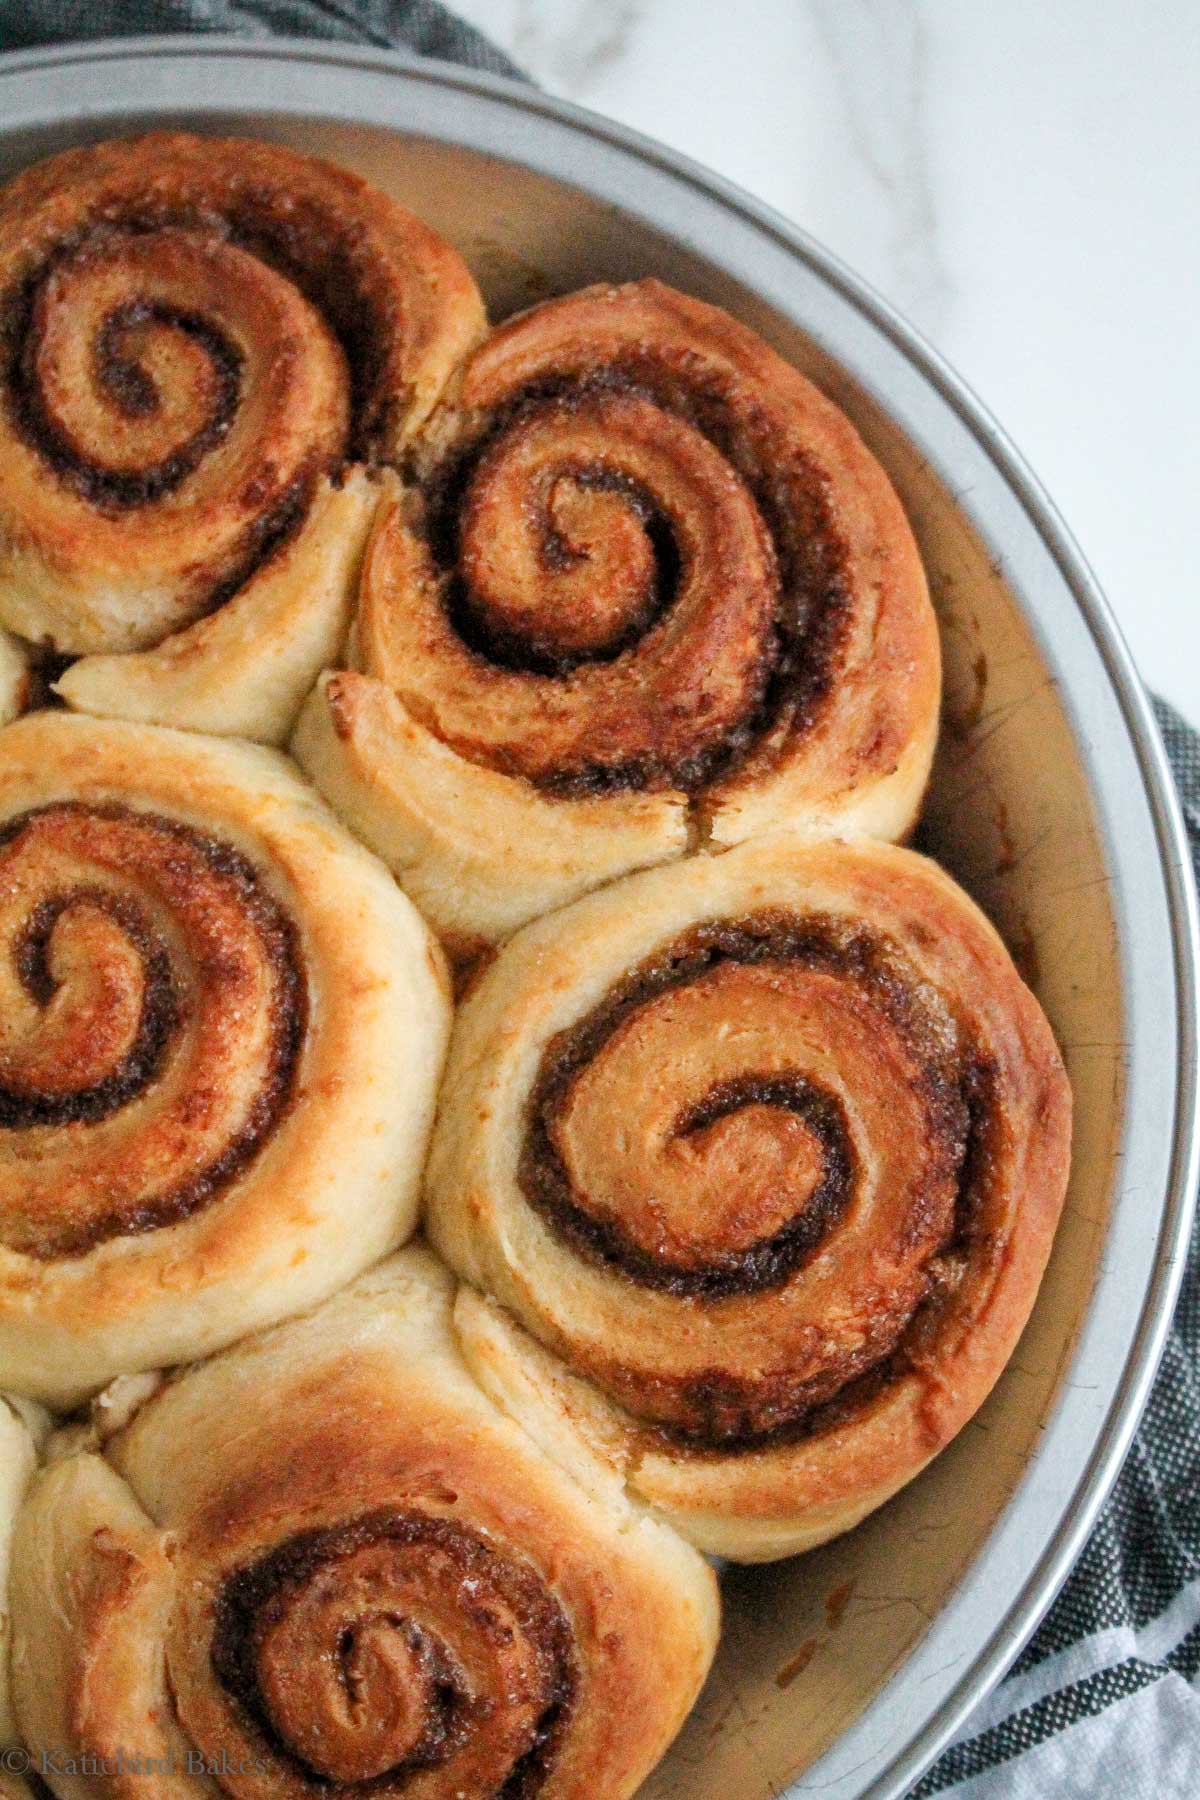
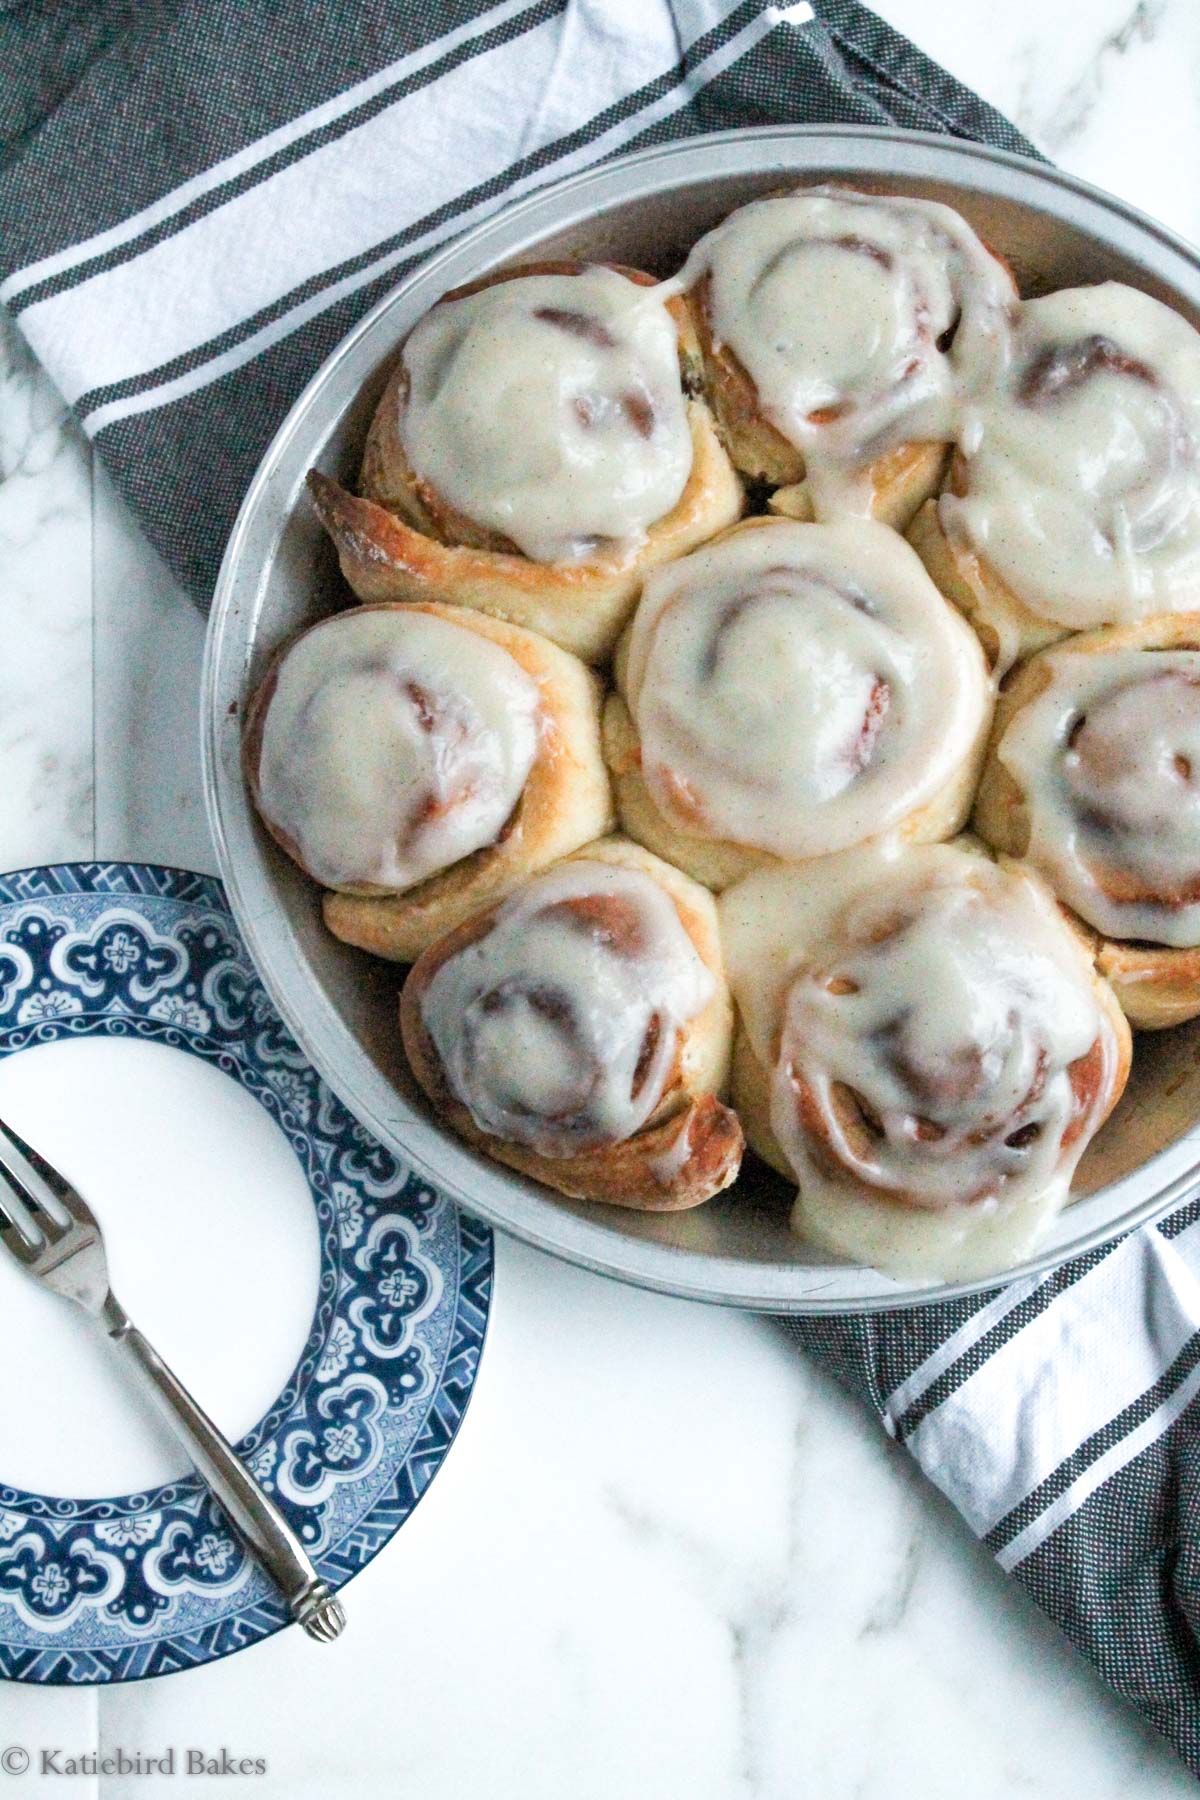
STEP 8: the best part. Take these babies out of the oven and marvel at your accomplishment. Spread cream cheese icing all over them (if they’re still warm, the icing will melt in a bit!) and EAT.
How to make cream cheese icing for cinnamon rolls
- Whisk together room temperature cream cheese and room temperature butter in a medium bowl until completely combined and smooth. Add vanilla extract and salt, and whisk again.
- Whisk in powdered sugar until fully blended (no lumps!).
- Add milk, 1 Tablespoon at a time, until the mixture reaches a pourable, but still thick, consistency.
- Pour and spread the icing evenly over warm or cooled cinnamon rolls in the pan, making sure the tops of the rolls are completely covered.
- If the cinnamon rolls are still warm when you ice them, the cream cheese icing will melt fully into all the nooks and crannies. If the cinnamon rolls are cool when you spread the icing on, the icing will sit on top and look prettier but will not sink into the rolls quite as much. Your call!
Make Ahead Overnight Instructions
The cinnamon rolls can be prepared the night before through the step of shaping the rolls and placing in the pans. Cover pans with plastic wrap and place in the fridge overnight. In the morning, set pans out on the counter while the oven is preheating to allow rolls to come to room temperature, then bake as directed.
Storing and Reheating Cinnamon Rolls (with or without icing)
Refrigerator: Store any leftovers (not likely) in the fridge for up to 5 days, and simply microwave individual cinnamon rolls for 20-30 seconds to reheat. You can also gently reheat the entire pan of iced cinnamon rolls in a 250 degree oven for 15 minutes.
Freeze the baked rolls: baked and iced rolls can be frozen, wrapped individually in plastic wrap and stored in a freezer bag, for up to 3 months. Simply microwave for 30 seconds or warm in a 250 degree oven for 15 minutes to reheat.
Freeze the dough: Shaped cinnamon roll dough can be frozen, well-wrapped in the pan or another container, for up to 3 months. Set out on counter for 2 hours before baking to allow to come to room temperature and complete their second rise. Bake as directed.

If you serve this recipe to family and friends on Christmas, any holiday, or just a random weekend, you’ll be their favorite person of the year. These rolls are soft, sweet, gooey, cinnamon-y, and the vanilla cream cheese icing over the top is just outrageous enough to be repeated again and again. Good luck keeping these around longer than 24 hours.
Other Holiday Brunch Recipes:
- Easy No-Knead Pecan Sticky Buns
- Carrot Cake Cinnamon Rolls
- Cranberry Crumb Cake
- Cranberry Sauce Breakfast Rolls
Recipe
Cinnamon Rolls with Cream Cheese Icing
Ingredients
For the Cinnamon Rolls:
- 2 cups (473 ml) milk (I used whole milk)
- 1/2 cup (118 ml) canola oil (or olive or avocado oil)
- 1/2 cup (100g) granulated sugar
- 2 and 1/4 teaspoons instant or active dry yeast (one packet)
- 4 and 1/2 cups (562g) all-purpose flour, divided (see below)
- 1/2 teaspoon baking powder
- 1/2 teaspoon baking soda
- 1 and 1/2 teaspoons salt
- 1/2 cup (113g) unsalted butter, melted
- 1 cup (150g) brown sugar, not packed
- 2 teaspoons cinnamon (or more to taste)
For the Cream Cheese Icing:
- 4 ounces (113g) cream cheese, room temperature
- 4 tablespoons (56g) unsalted butter, softened
- 1 cup (113g) powdered (confectioner’s) sugar
- 1 teaspoon vanilla extract or vanilla bean paste
- Pinch of salt
- 1/4 cup (59 ml) milk of choice (more if necessary)
Instructions
For the Cinnamon Rolls:
- Combine the milk, oil, and sugar in a large pot (I used a Dutch oven) and place over medium heat until just before boiling (or microwave this mixture in a large bowl until just before boiling). Turn off the heat and let the mixture cool until just warm to the touch, about 105-110 degrees F.
- Sprinkle the yeast over the top of the milk mixture and let sit for 1-2 minutes. Add 4 cups (500g) of the flour and stir with a wooden spoon until an evenly combined dough has formed.
- Cover and let sit on the stove (with the oven on if your kitchen is cold) to rise for about 1 hour. Check after 30 minutes to make sure it is rising. By the end of the hour, it should have doubled in size and smell yeasty.
- Add the remaining 1/2 cup (62g) flour along with the baking powder, baking soda, and salt, and stir until completely combined. The dough should be easy to handle and not sticky. If it is sticky, place the dough in the fridge for an hour, and it should be much more pliable.
- Divide the dough in half and roll one half out on a WELL floured surface to about a 12×8 inch rectangle. It helps to dust flour over the dough and your rolling pin before you roll it out to ensure it doesn't stick. Spread half the melted butter evenly over the dough, then sprinkle half the brown sugar over top, followed by half the cinnamon.
- Starting with the long edge farthest from you, roll the dough towards you, moving your fingers evenly back and forth along the dough, until it is tightly coiled with seam down. Cut into 8 even rolls with a sharp knife or unflavored dental floss, and place in a greased pie plate or 9-inch round cake pan.
- Repeat steps 5 and 6 with the second half of the dough.
- Preheat oven to 375 degrees F. Let the rolls rest on the counter for 15-20 minutes while the oven preheats, until they are slightly puffed. Bake for 20-22 minutes, until golden brown. Make the cream cheese icing while the rolls are baking.
For the Cream Cheese Icing:
- Whisk together cream cheese and butter in a medium bowl until completely combined and smooth. Add vanilla and salt and whisk again. Whisk in powdered sugar until fully blended. Add milk, 1 tablespoon at a time, until the mixture reaches a pourable, but still thick, consistency.
- Pour and spread the icing evenly over the warm cinnamon rolls in the pan, making sure the tops of the rolls are completely covered. Serve warm with coffee and watch people’s eyes light up with unadulterated joy!
Video
Notes
Like this easy recipe for no-knead cinnamon rolls with cream cheese icing? Please RATE it and LEAVE A COMMENT below. Your feedback means so much and helps other bakers too!
Also, if you want recipes straight to your inbox every time I post, sign up for my email list! Let’s be friends on Instagram too: you can find me @katiebirdbakes.
I guess yeast isn’t so bad 🙂

I just made these and making a comment after eating one… these are really amazing. Best recipe for cinnamon rolls I’ve used so far. Since it’s only me, I halved the recipe. Love it! Thank you!
Thank you so much, Alex! Great to know that halving the recipe works just as well!
I was wondering if you could substitute the milk, with a non dairy option like sweetened almond milk, that’s all I have!:)
Thanks!
Yes I think that would work!
Making these right now as they look delicious in the pictures! The dough was quite sticky when rolling out, not sure if it’s supposed to be like that? I’m in the UK so maybe I’ve got the conversions wrong. I’ve put it in the oven without the fan is that right? Love your recipes!!
Hi Sara – the dough should not be very sticky, so I’d add a bit more flour. And yes, most American recipes do not use the oven fan. I don’t think my oven even has that option! I hope the recipe turned out well for you!
Do I do let them rise in the Dutch oven?
Hi Gabby – you let the dough rise in the Dutch oven for the first rise, then you shape the rolls and let them rise in the baking pans for the second rise. Hope you enjoy the recipe!
Planning on making these this afternoon and realized I only have instant yeast. Could I substitute it 1:1 for active yeast?
I am confused…written instruction in recipe says to add baking powder, baking soda and salt with the last 1/2 cup of flour AFTER the first dough rise. However, the photo instructions says the baking powder, baking soda and salt are added with the initial 4 cups of flour.
Hi Debyk – sorry about that! The recipe instructions are correct – add the baking powder and baking soda and salt with the last 1/2 cup of flour, after the rise. The reason for this is that baking powder starts reacting immediately when it encounters liquid, and you don’t want that when there’s still an hour of rising to do!
That’s awesome Katie
Please don’t be intimidated by yeast. I always use SAF Red Yeast (Fleishmans never) and keep it refrigerated in a sealed glass jar. Always proof the yeast for 5 minutes. Surrender to the fact that you will be controlled by kitchen timers. I now use Alexa to keep me on time when baking. Use YouTube as a primer on how to knead. While your recipe was good, I prefer the tried and true method of making the dough, kneading the dough, letting it rise, making the roll, slicing the roll, letting the dough rise again, baking the rolls. We make the same icing.
I admire your love of yeast! I hope to be that confident with it in the future!
I made these and cut the whole receipe in half for us as it is just the two of us. They came out perfect. Thanks for the wonderful receipe I know I will use over and over. Including holidays.
Yay! Thank you Shirley – great to know a half recipe works well!
My yeast didn’t rise ☹️ Repeating again now there goes 8 cups of flour and 4 cups of milk LOL
When you say 4 1/2 cups of flour, are you just scooping the flour into a measuring cup or are you weighing each cup to be super exact?
Also, when a recipe you decide to make calls for a certain number of cups, do you usually assume it’s measured or just scooped? Not sure what the standard is, ha.
Thank you so much for the recipe. I’m excited to make this for breakfast 😀
Hi Paula – I use the “scoop and sweep” method for measuring flour (i.e. use a spoon to scoop flour into the measuring cup, then sweep it level and do not pack the flour in). I don’t use the weight method right now, although I’d like to start as you are correct, it’s more exact. I usually assume when a recipe calls for cups that it is scooped. Hope you enjoy the recipe!
Hi Katie! I think this is my first time writing a review on a recipe, ever! And I use lots of recipes from fun people like you. This is an amazing recipe!! I can’t express how perfect it turned out in every way! I want to make these often. I halfed the recipe one more time, and it was perfect, and I can’t wait to make a full recipe.
Thank you!!!!
I am SO glad to hear that, Anna! This is one of my favorite recipes and I’m so excited it turned out well for you too! Thank you for leaving the comment 🙂
Milk mixture on stove while heating do we stir it?
Yes, you do stir it. Sorry your yeast didn’t work the first time – hope it turned out well the second time!
I’m about to make these for the second time this weekend, and they turned out soooo good last time! I shared them with friends and everyone loved them. Thank you for this amazing recipe! I used my own icing recipe but the cinnamon rolls were perfect.
Here’s a pic:
https://instagram.com/p/BgTvwAGAKXR/
Oh my gosh Jenn, they’re gorgeous! I’m so glad the recipe turned out well for you. Thanks for sharing the picture!!
Have you ever made these in advance and frozen or refrigerated before you were ready to bake them?
Yes – you can prepare the recipe the night before up to the point where you put the unbaked rolls in the pans, then keep them in the fridge overnight. In the morning, let them come to room temp for a half hour then bake as directed! I haven’t tried it in the freezer, but my guess is you could probably do the same thing –
just let them come to room temp for an hour or hour and a half before baking. Hope you love it!
I am making these right now. I do it the easy way. You add all the wet ingredients into your bread machine pan with the salt. Then add all your liquid then yeast always last. Put on dough cycle and you get the same results without standing over the stove. Bake as directed after you have rolled them, etc.
Wow, Lynne – what a great idea! I didn’t know you could do it that way, but it makes sense. Thanks for the inspiration! Hope they turned out well for you.
I put yeast in first and they came out fabulous!!
yeast scares me so much. the last time i used it, i stared at the yeast looking at minute bubbles and tried to rationalize each one as reason to believe the yeast was working. and there were plenty of research (though i ended up getting more yeast infection results than yeast in baking results). the last time i made cinnamon rolls they definitely flopped (p sure my yeast was too old), so i’ll have to try them again!
I totally understand! It’s a lot of work to go to for the yeast to wind up being inactive. I’ve read that if you’re testing the yeast in warm water, it should really foam up after a few minutes – not just a couple bubbles. I think the results with yeast dough make it worth trying! The experiments continue!
Yum!!